Need to create an Opportunity report in Salesforce? This step-by-step guide walks you through selecting the report type, configuring filters, grouping results, and saving the report for your team. Follow the instructions below to build a report that provides visibility into your sales pipeline.
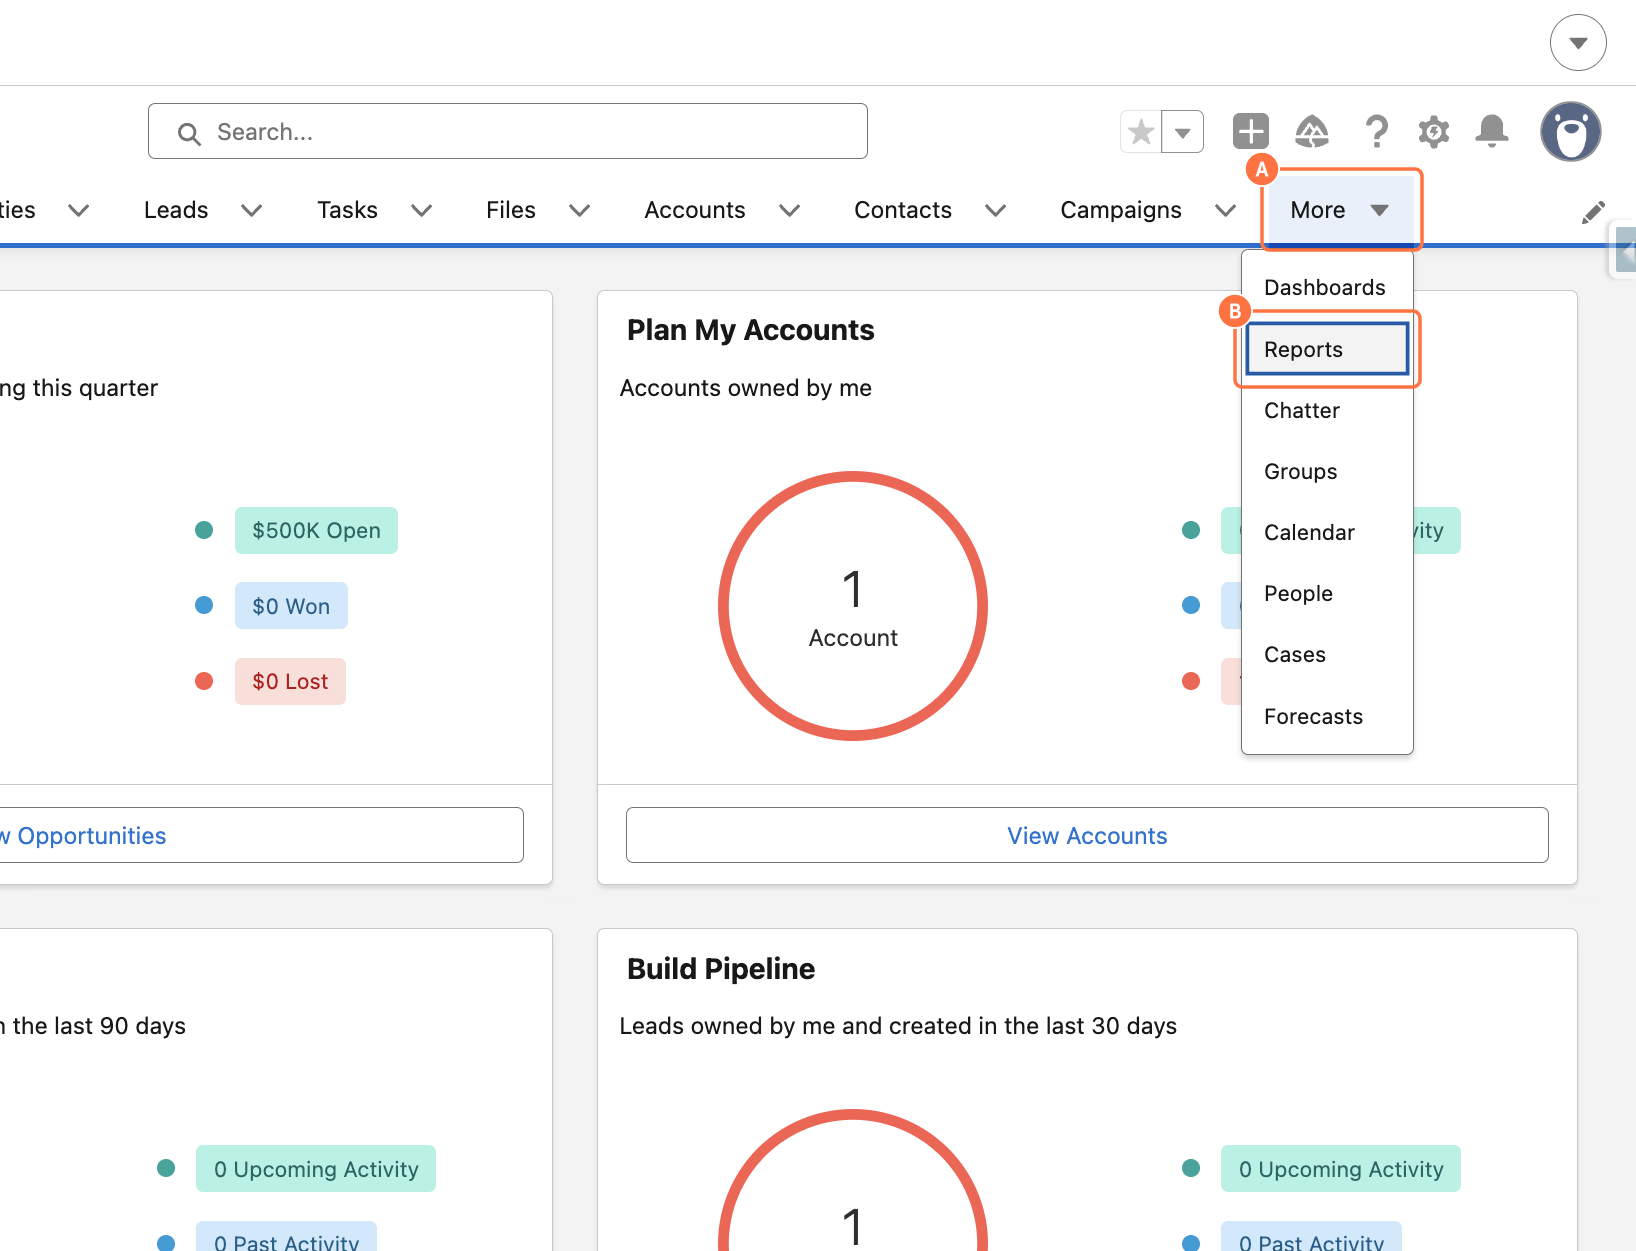
1. Open the Reports tab
A. Click on More to open the navigation menu.
B. Click on Reports.
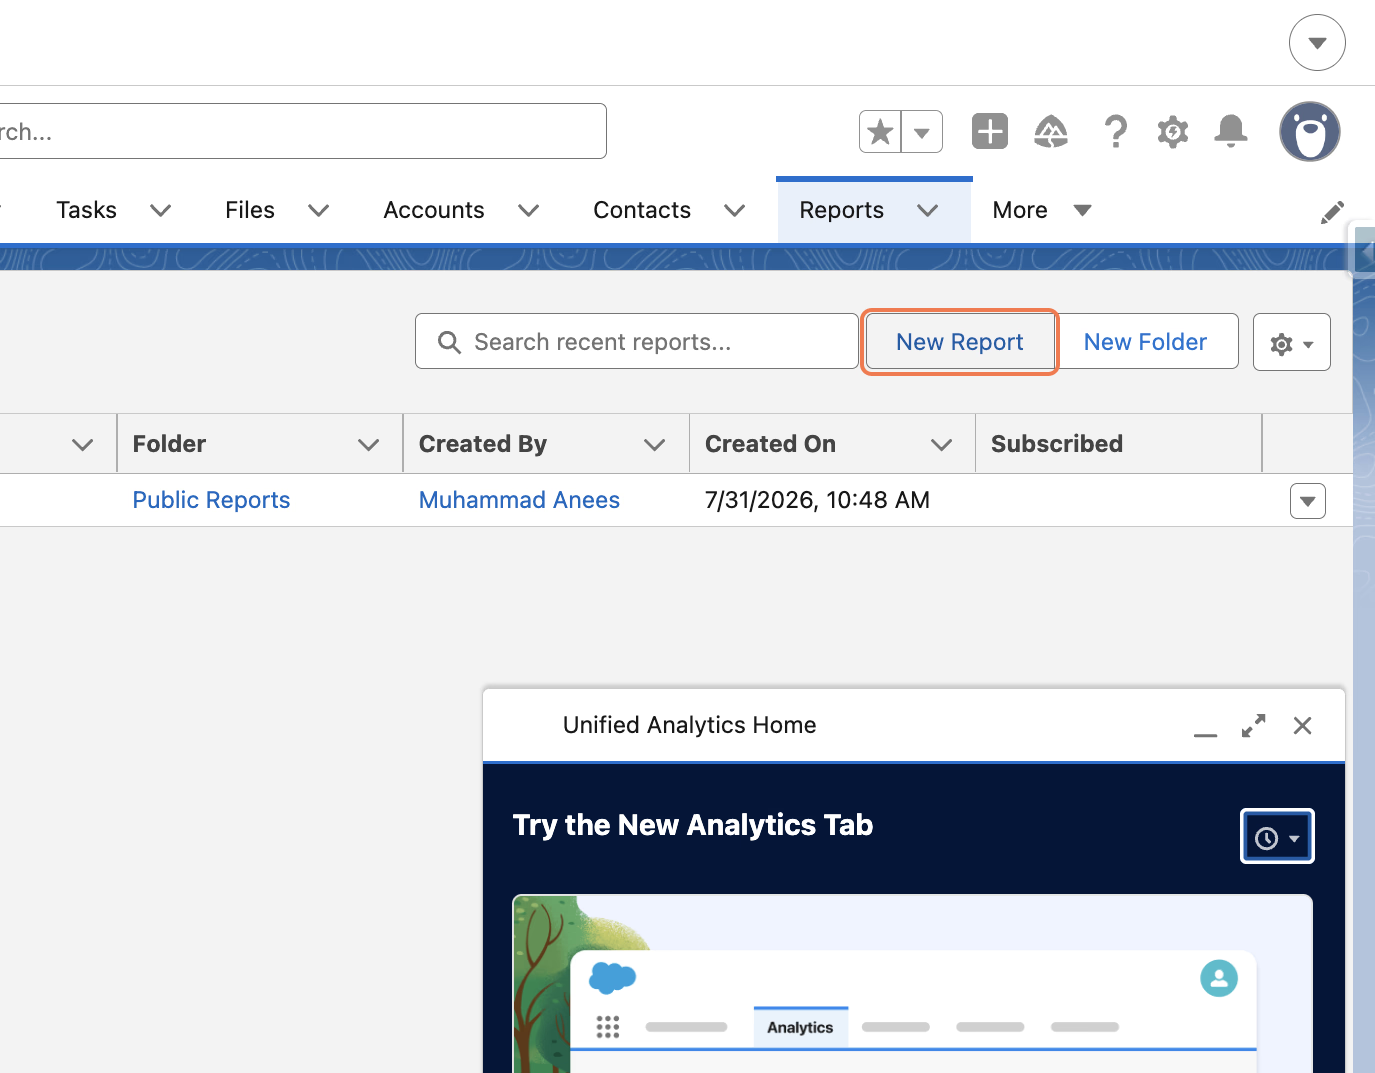
2. Create a new report
Click on New Report to begin creating your report.
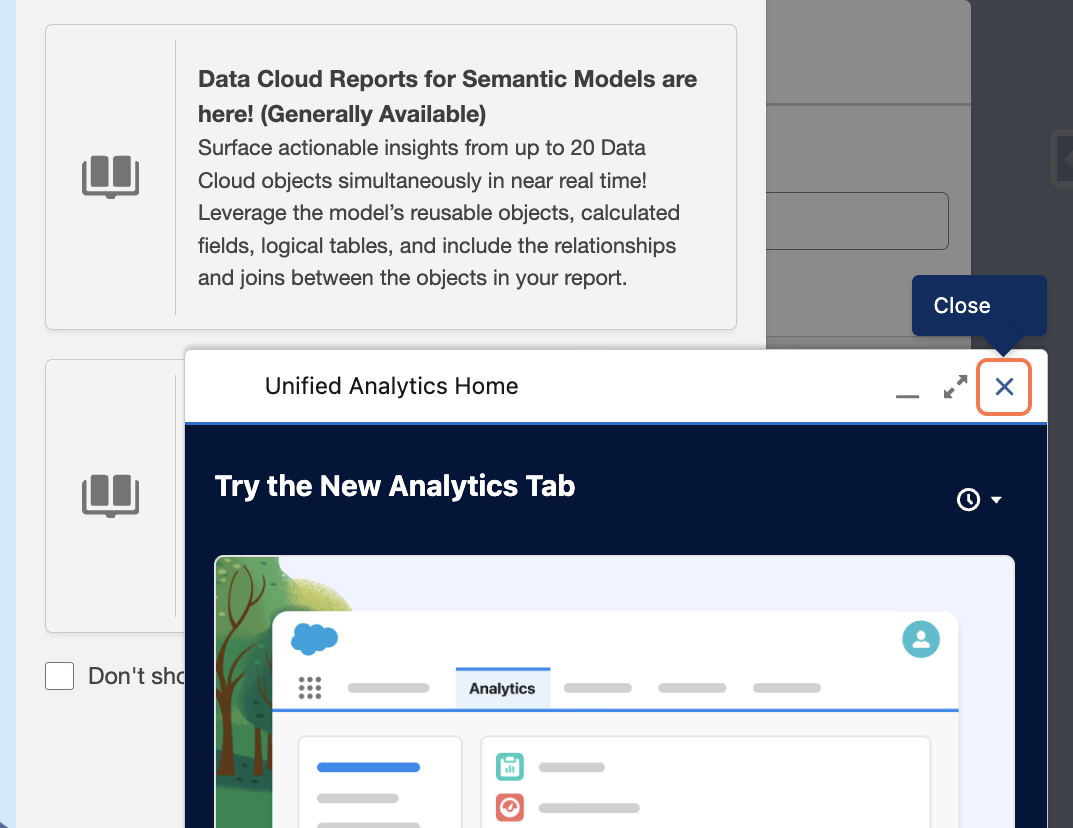
3. Close the first guidance pop-up
Click the X to close the in-app guidance pop-up so you can continue configuring the report.
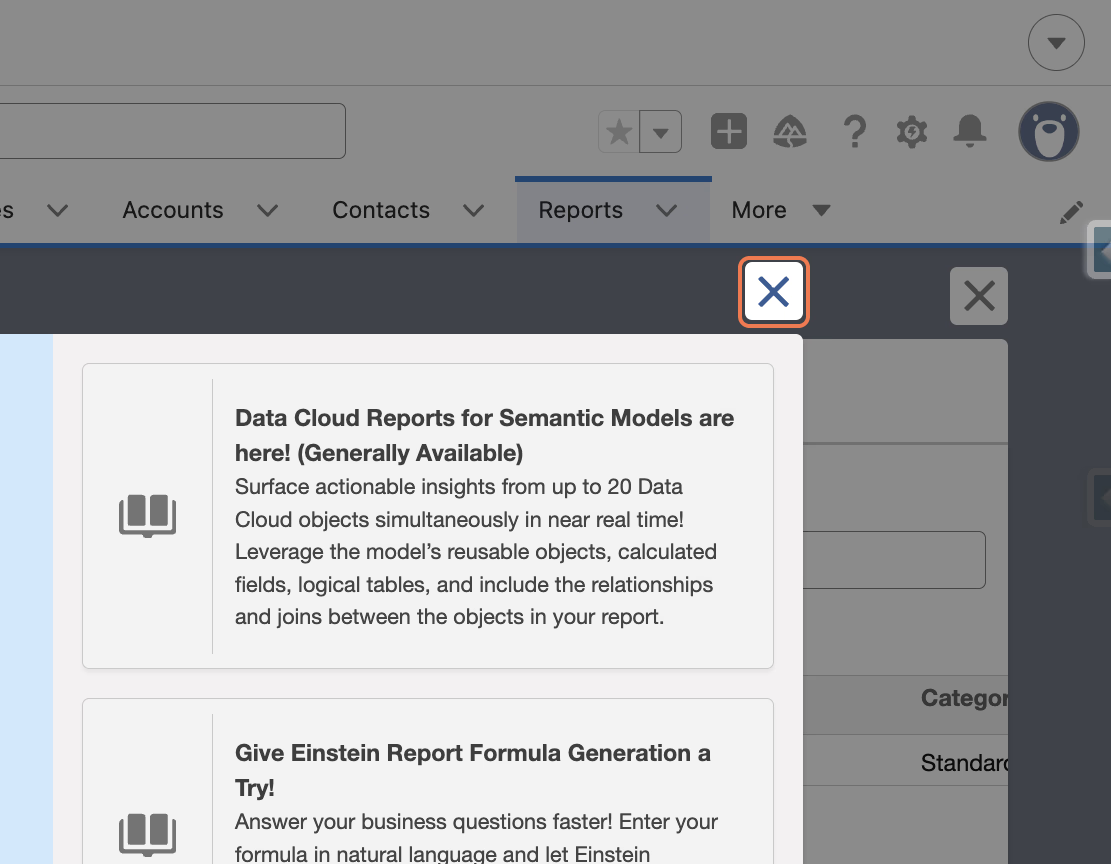
4. Close the remaining guidance pop-up
Click the X to close the remaining in-app guidance pop-up and access the report type selection screen.
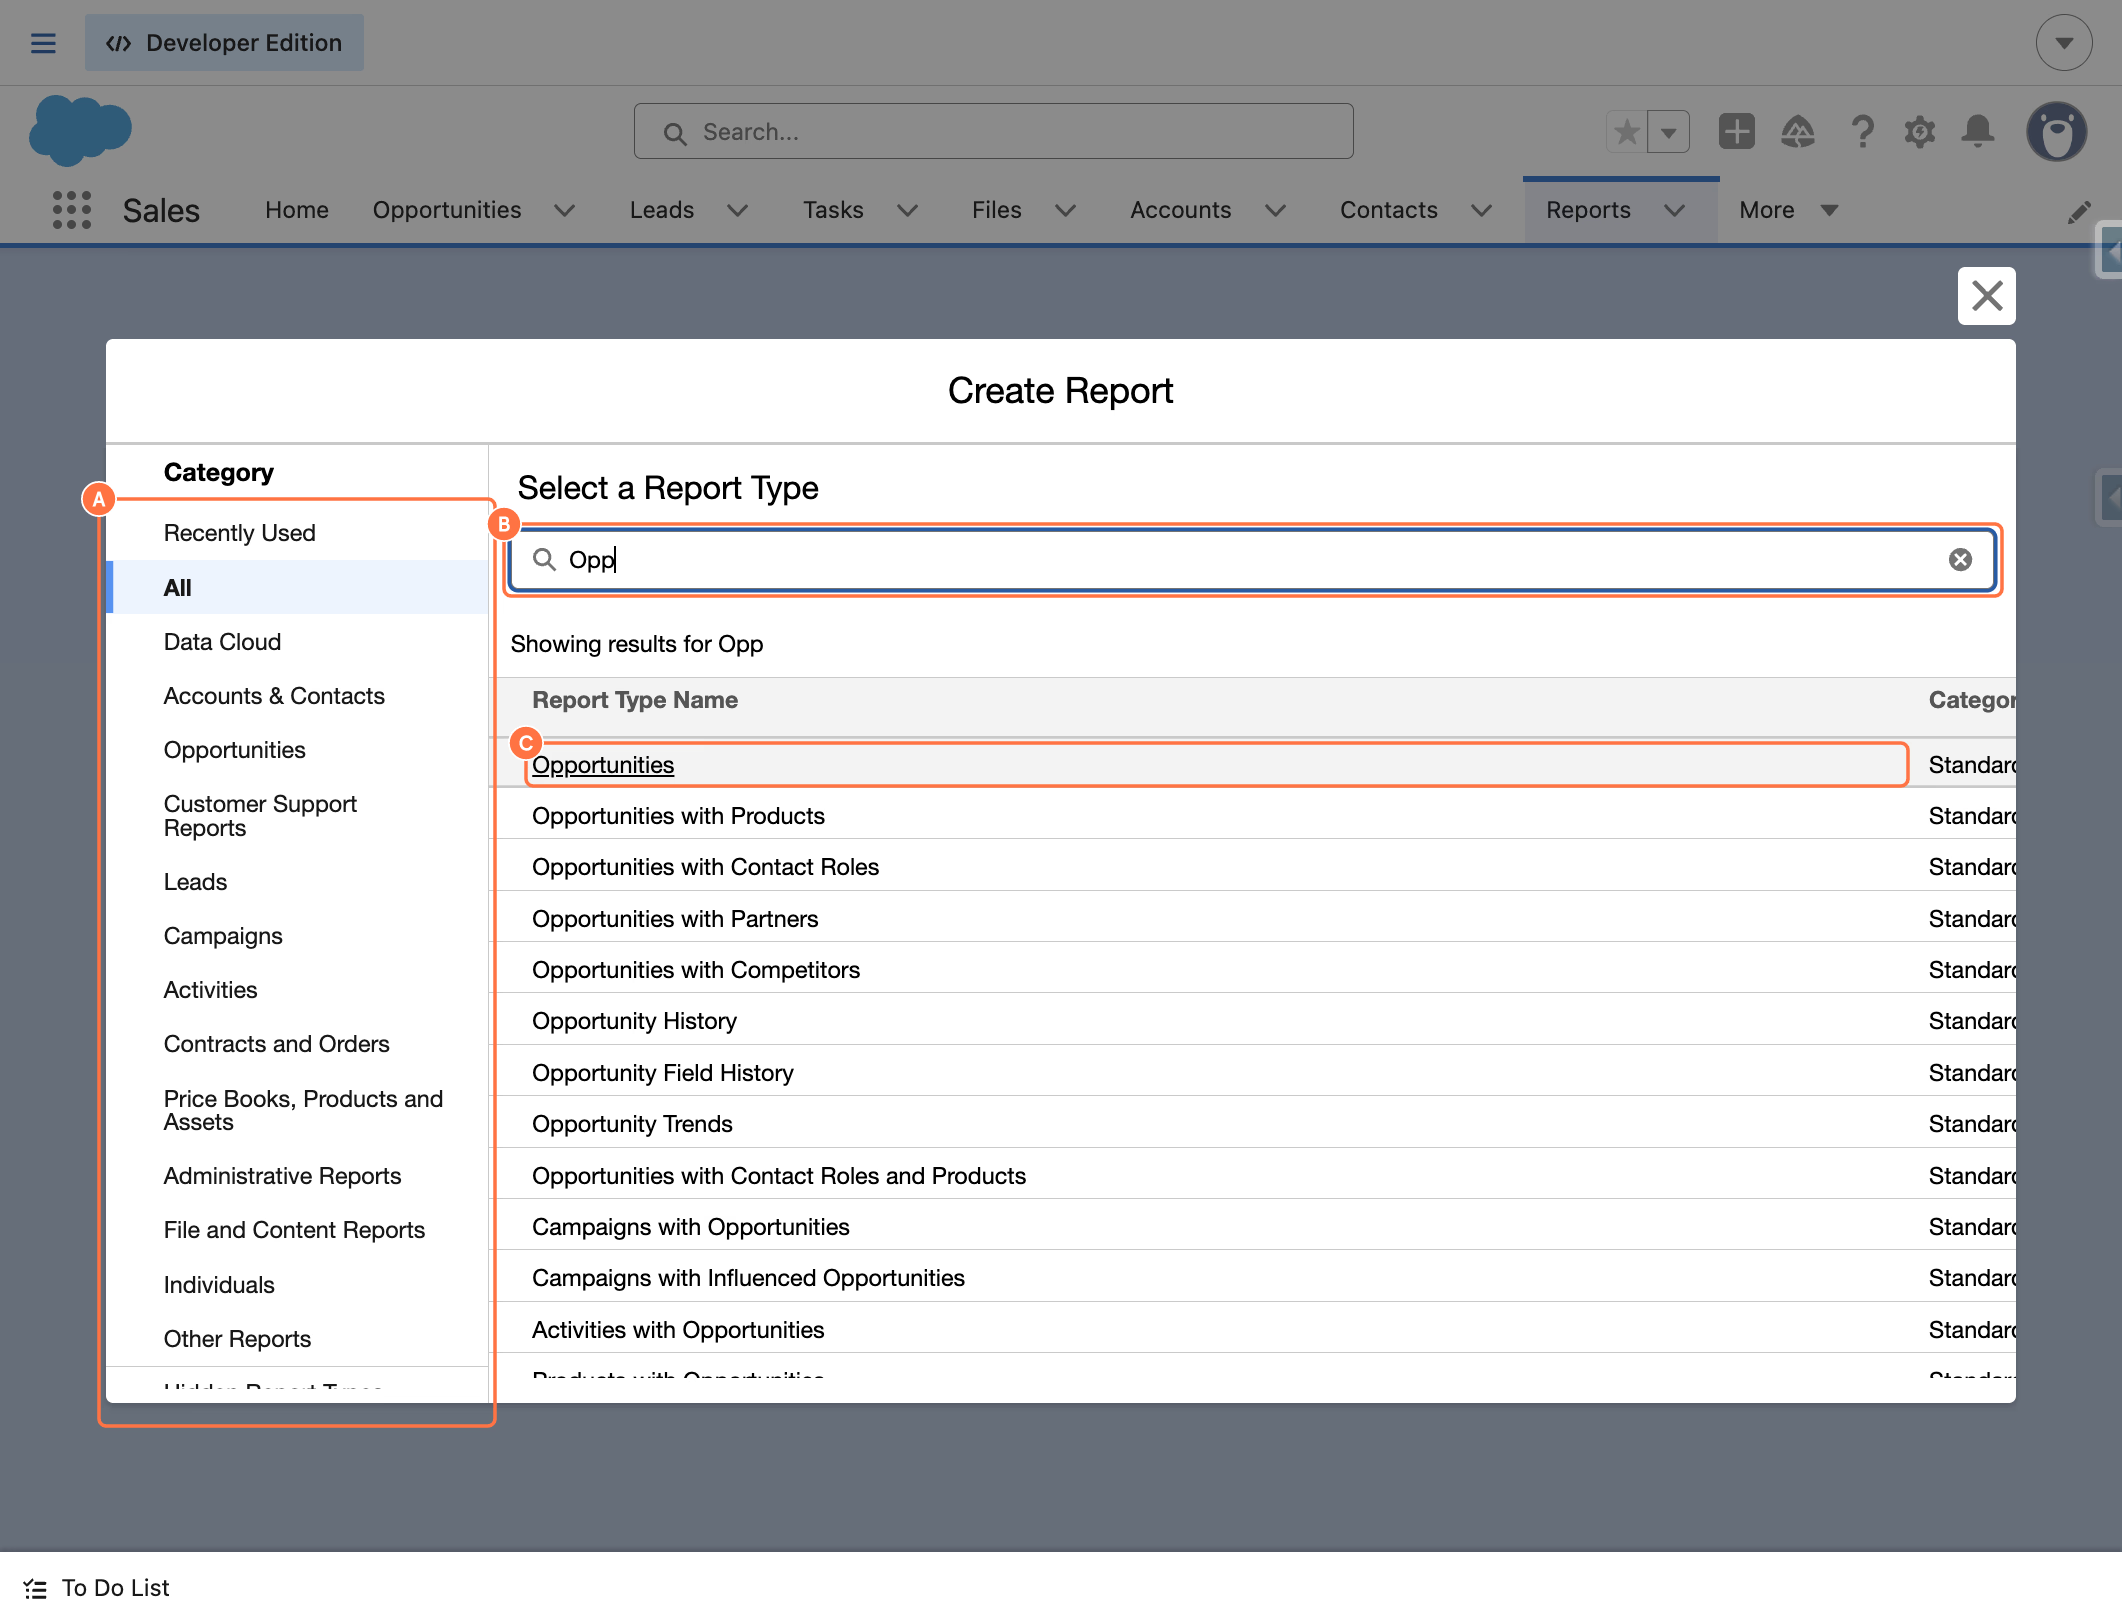
5. Search for and select the Opportunities report type
A. Select a category.
B. Type Opp in the search field.
C. Click on Opportunities.
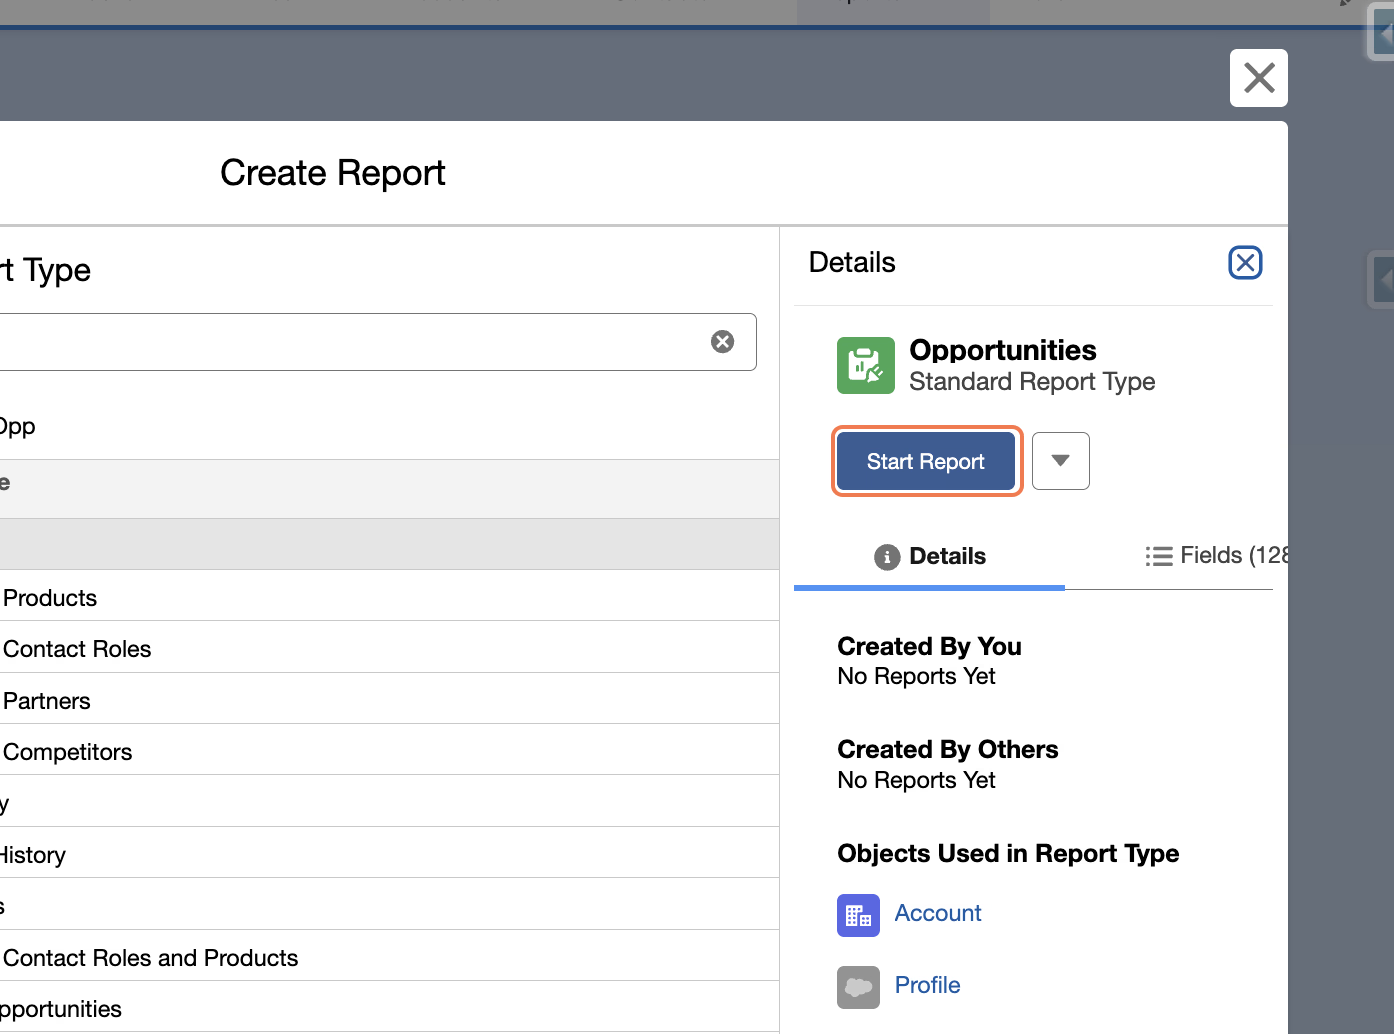
6. Start the report
Click on Start Report to open the report builder canvas for the selected report type.
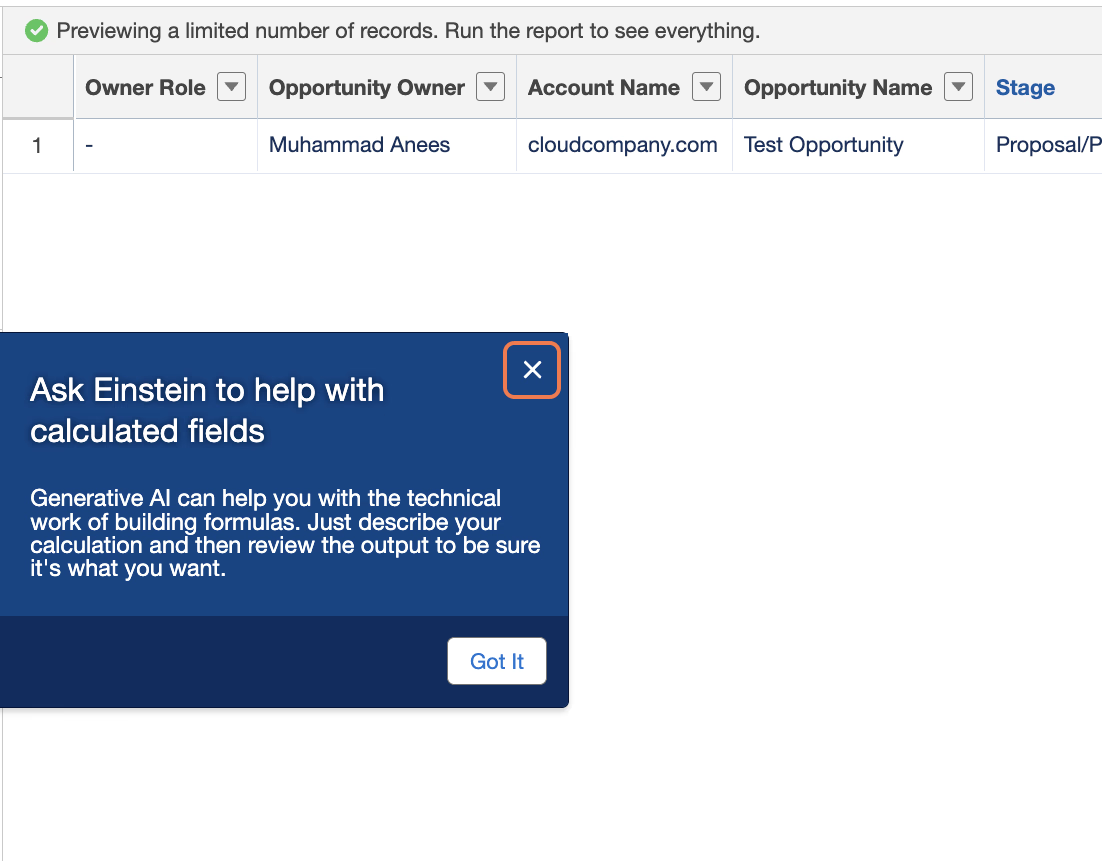
7. Close the dialog
Click the X to dismiss the dialog and view the main report canvas with the available columns and filters.
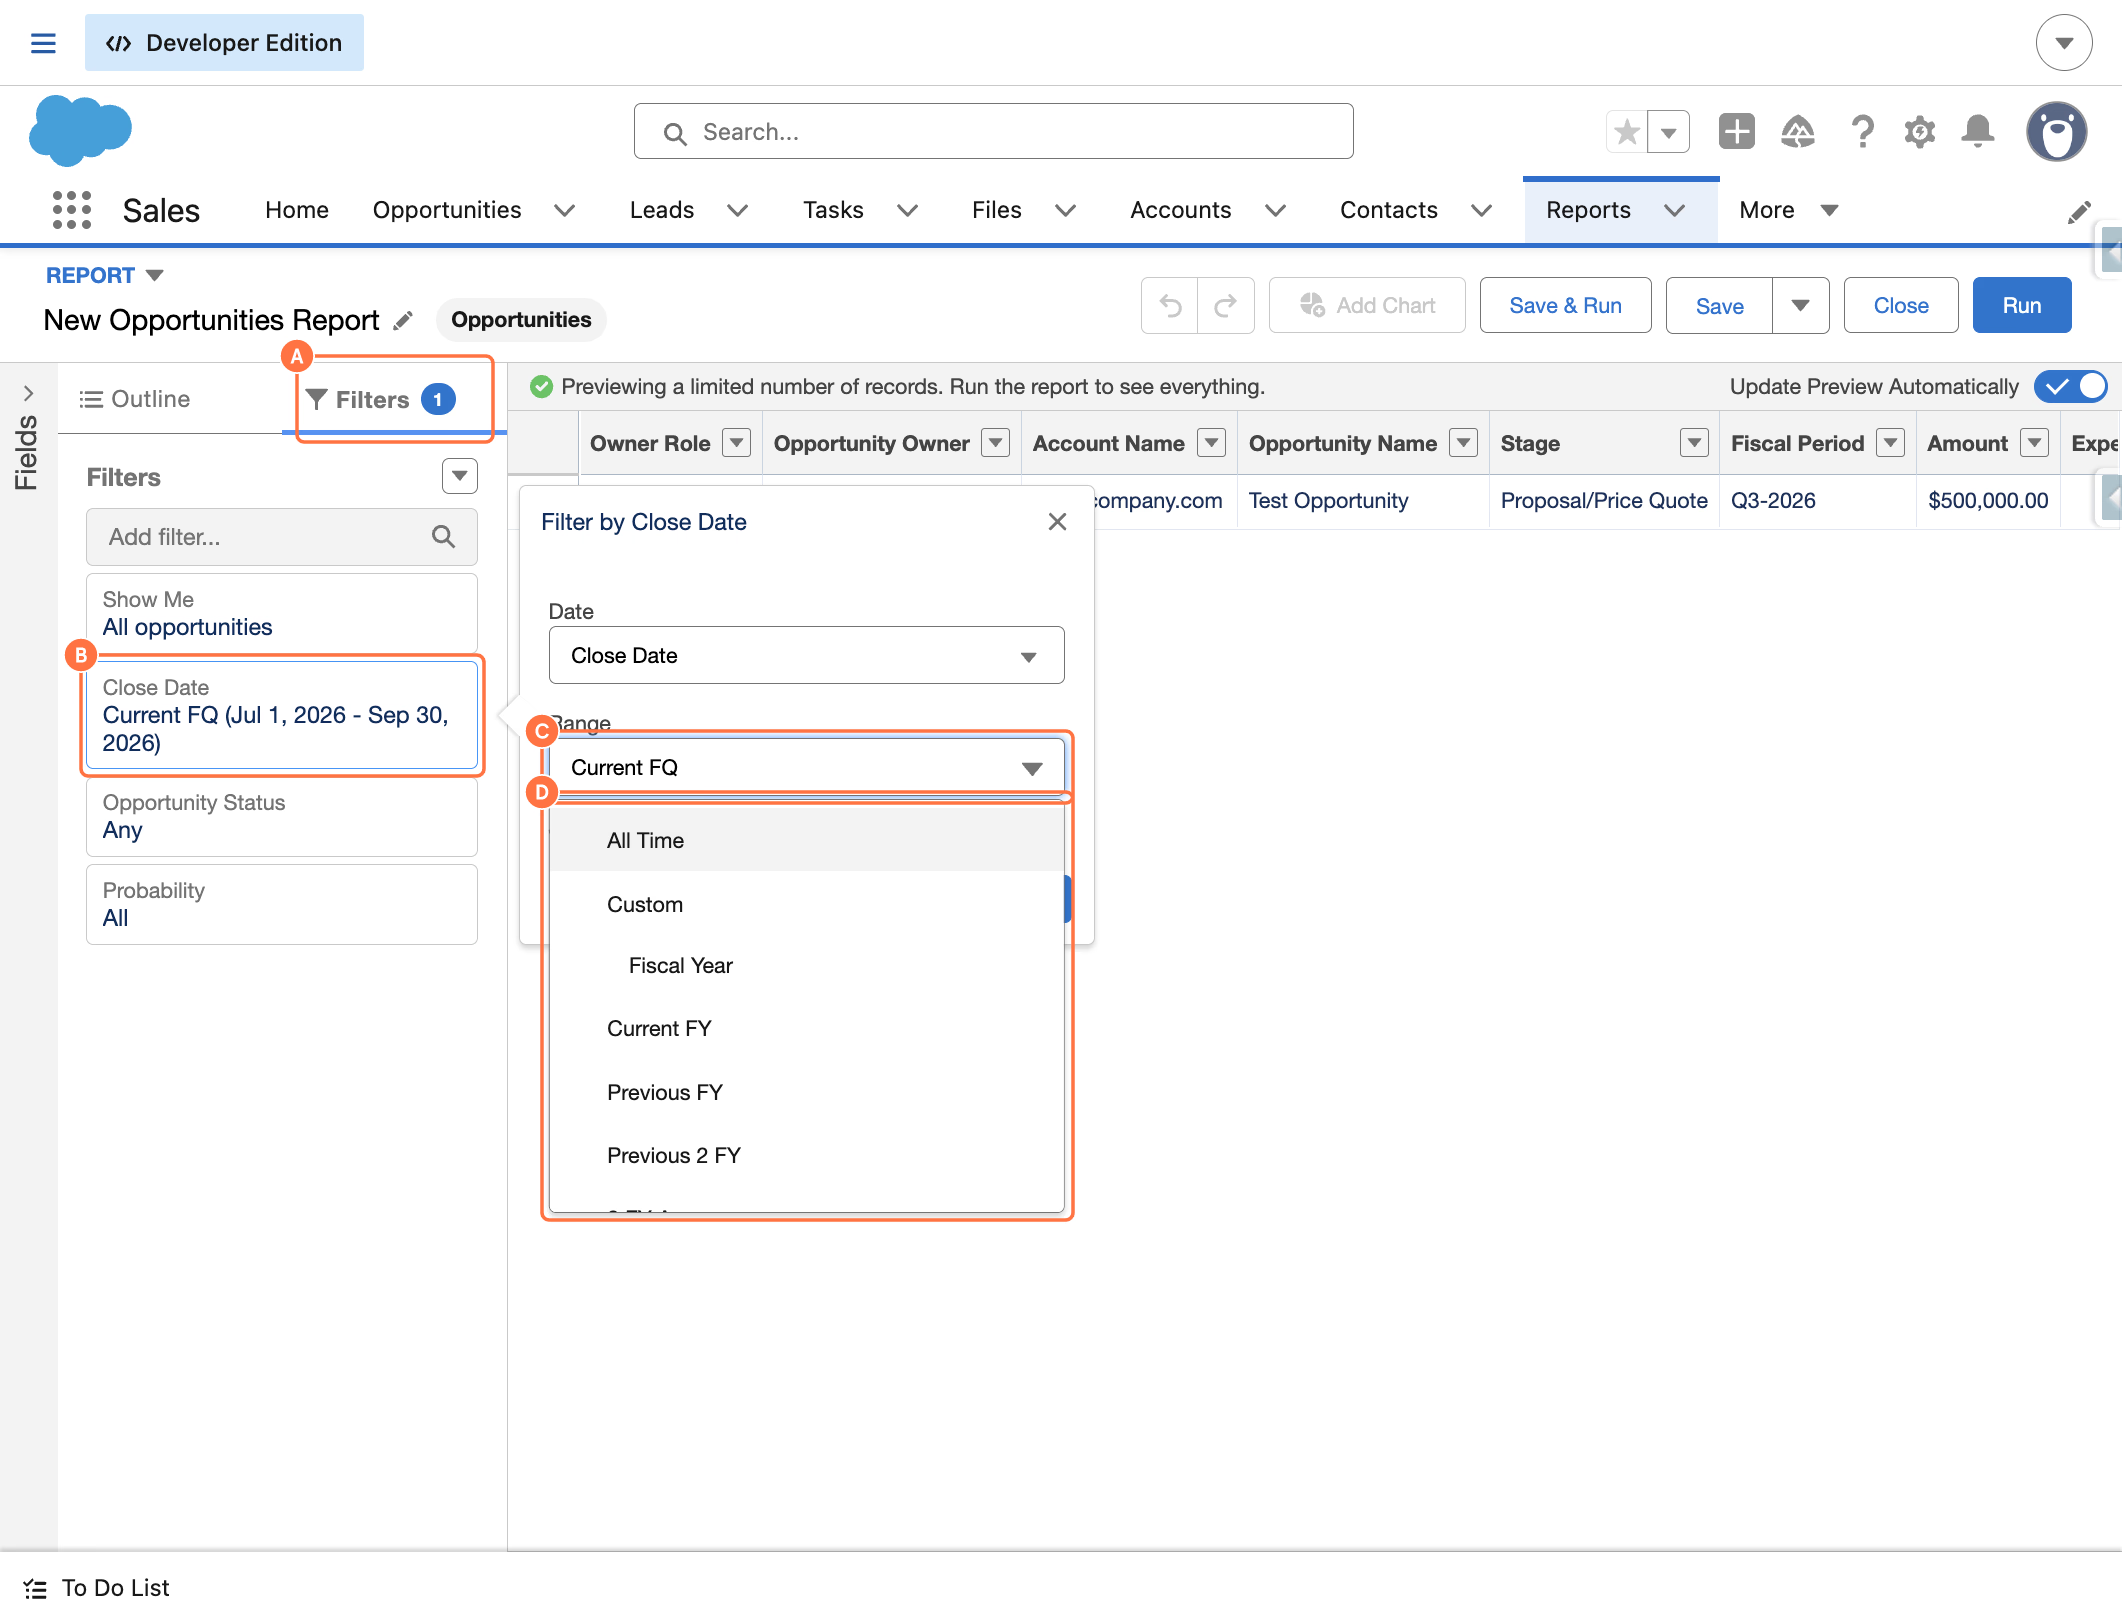
8. Update the date range filter
A. Click on Filters.
B. Click on Edit Filter...
C. Click on Range.
D. Select an option.
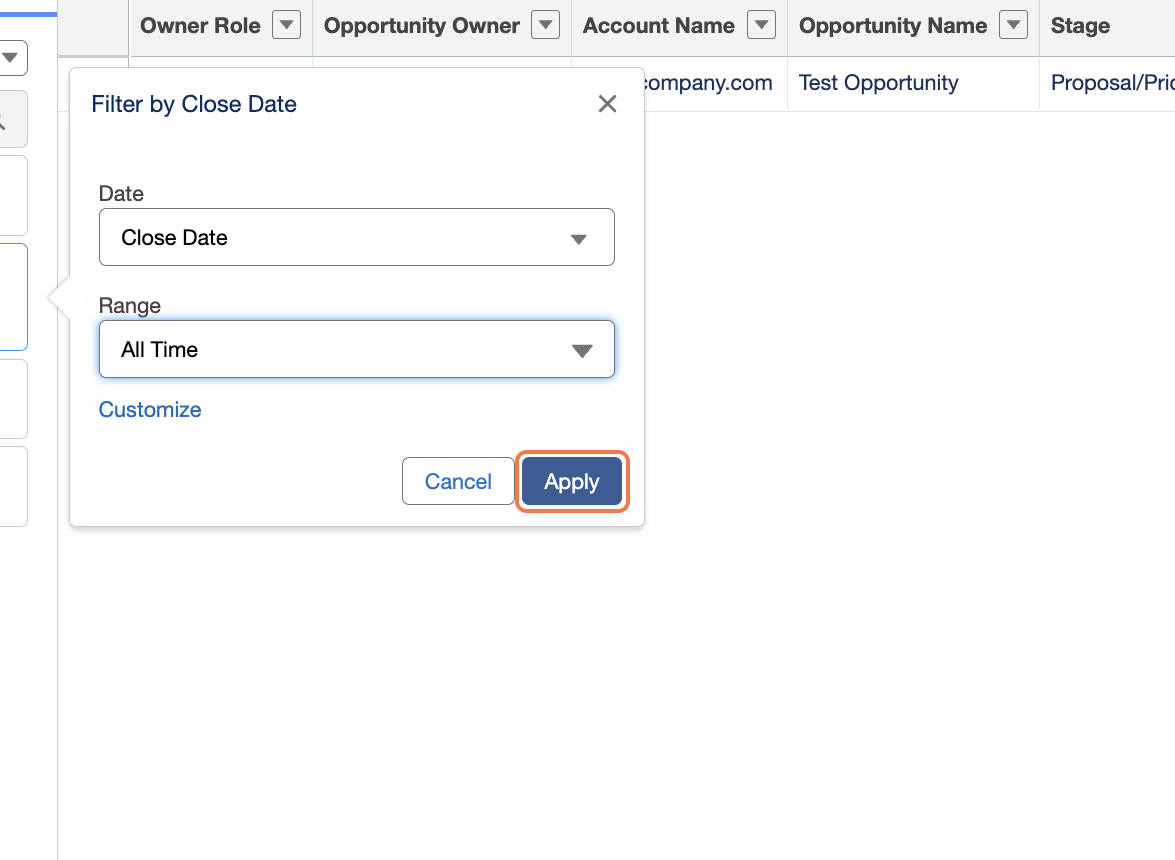
Change the date range to All Time so the report shows available data.
9. Apply the updated filters
Click on Apply to refresh the report results.
10. Group the report
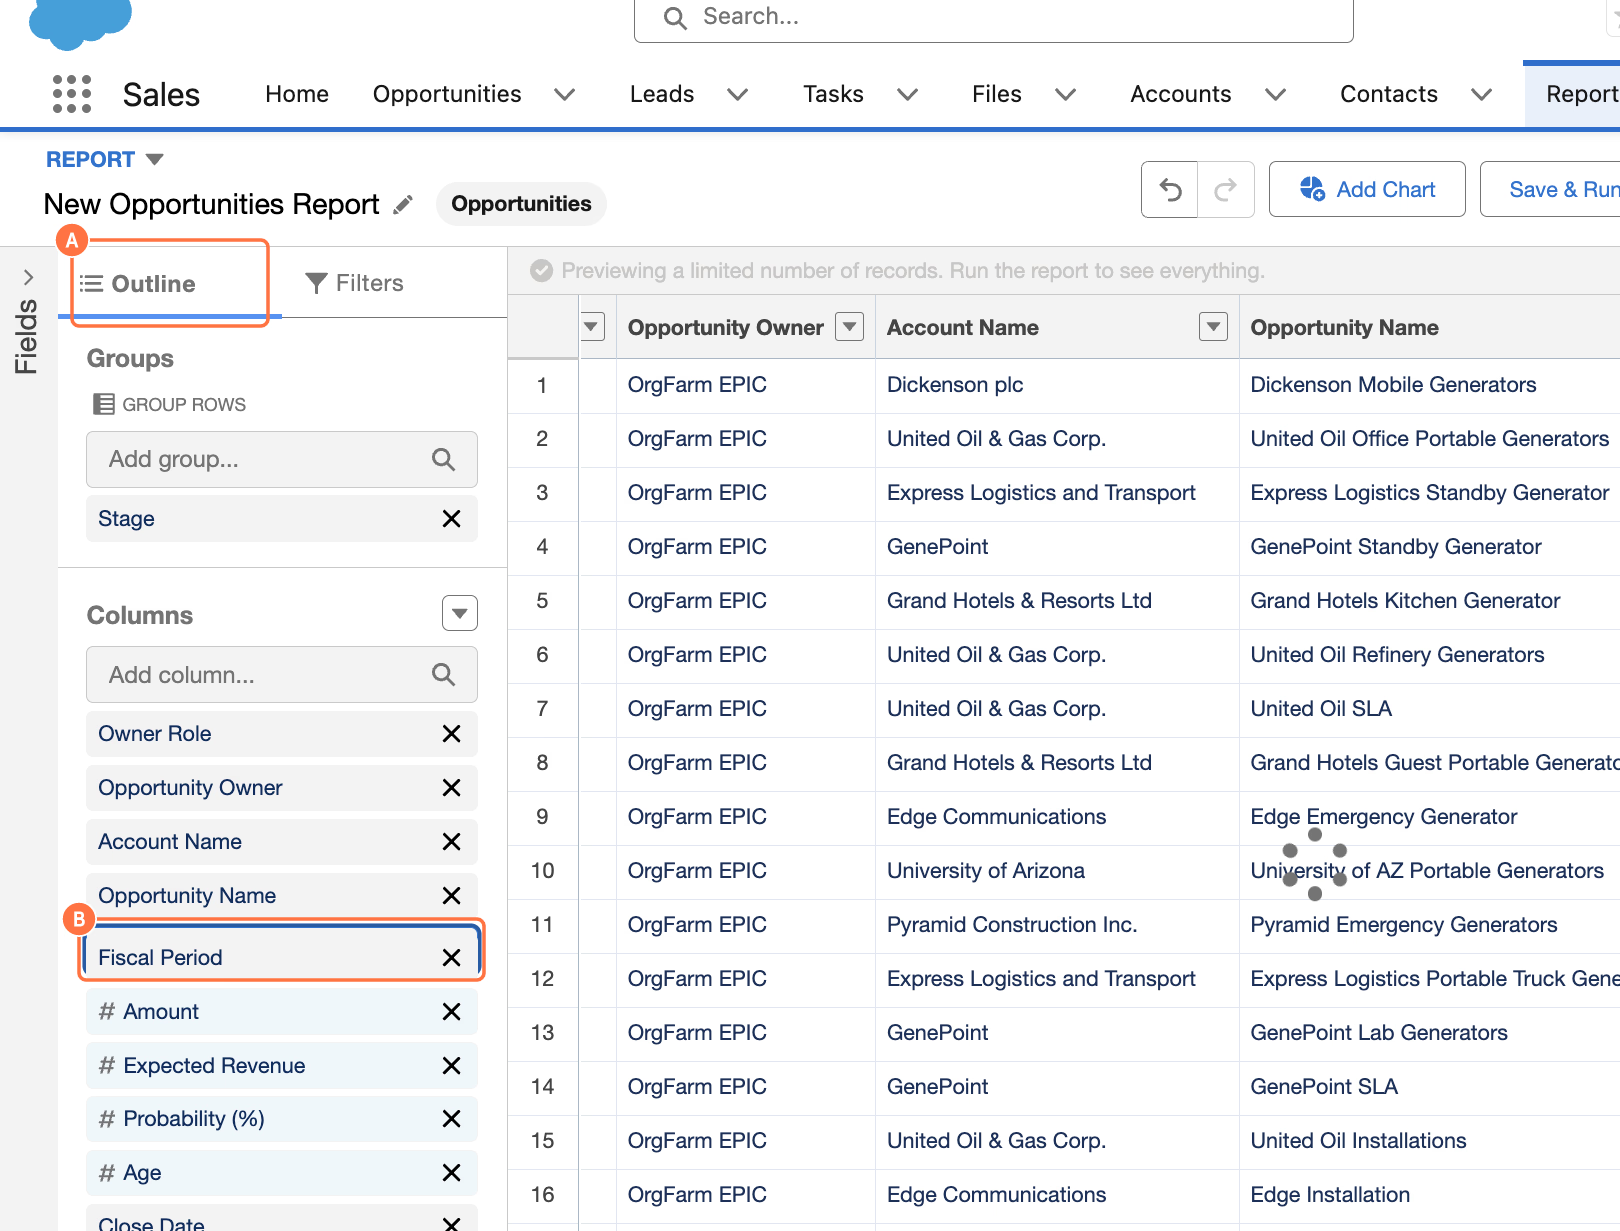
A. Click on Outline.
B. Drag the highlighted option.
Use Outline to drag a field and group the report (for example, group Opportunities by Stage).
11. Add a new filter
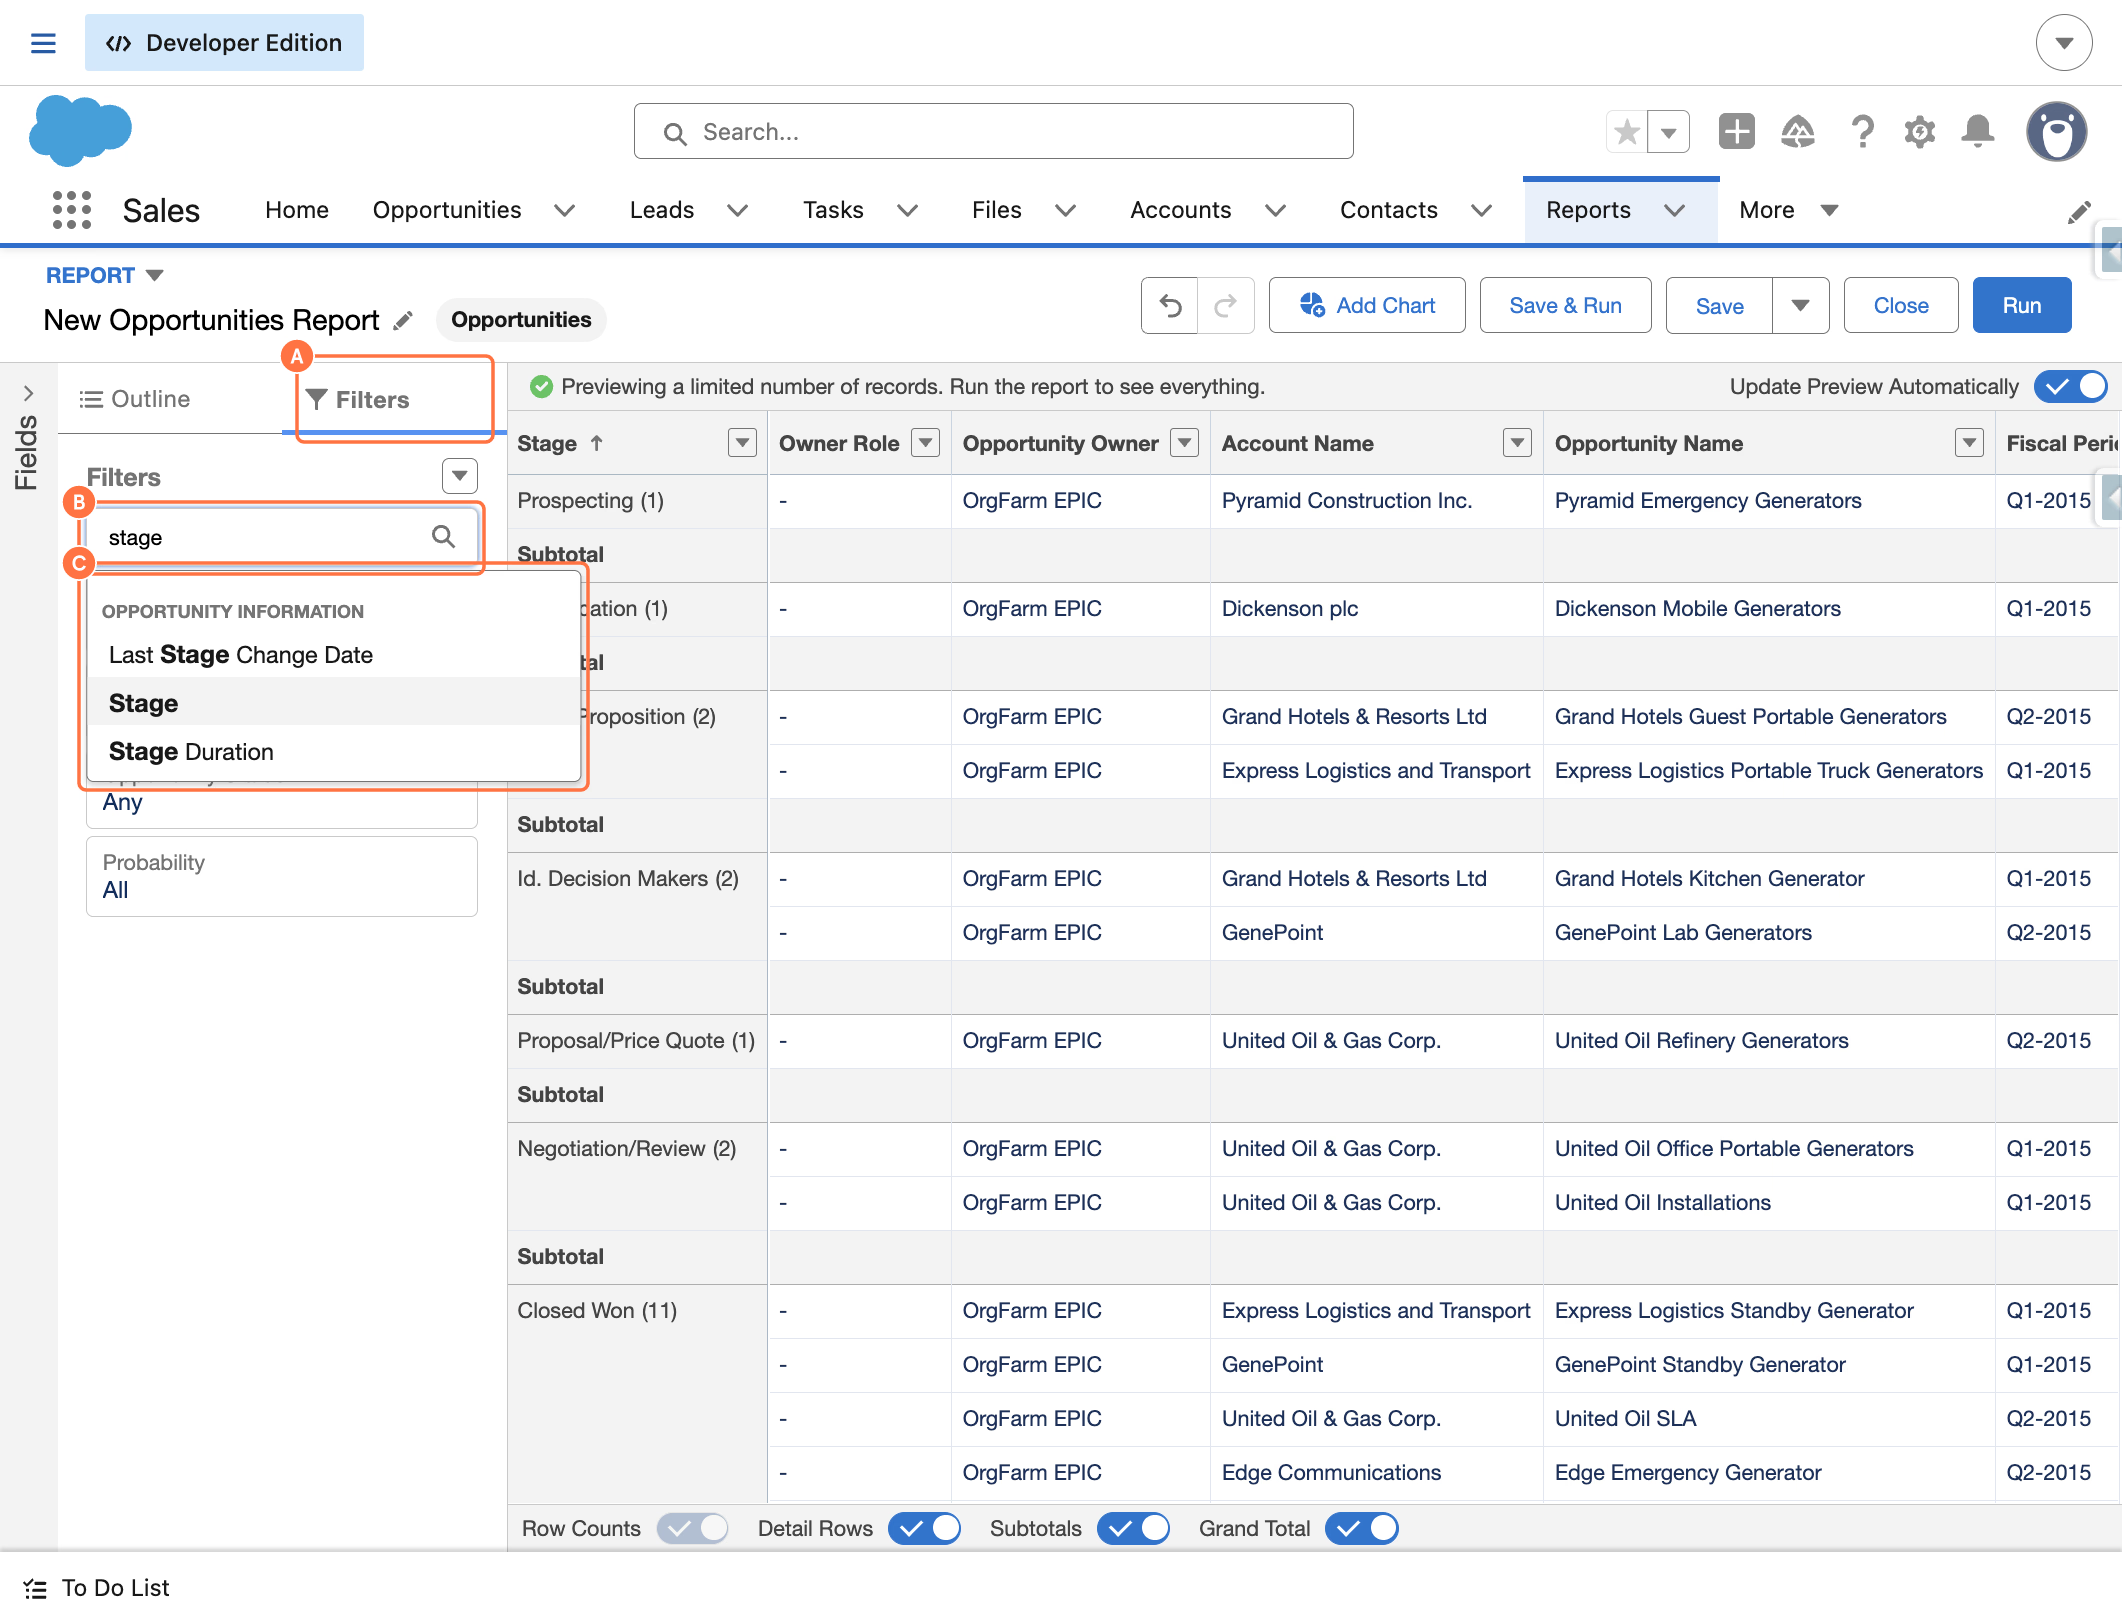
A. Click on Filters.
B. Type Add filter in the search box.
C. Select an option.
Add a new filter from the Filters pane to narrow the report to specific Stage values.
12. Select Stage values
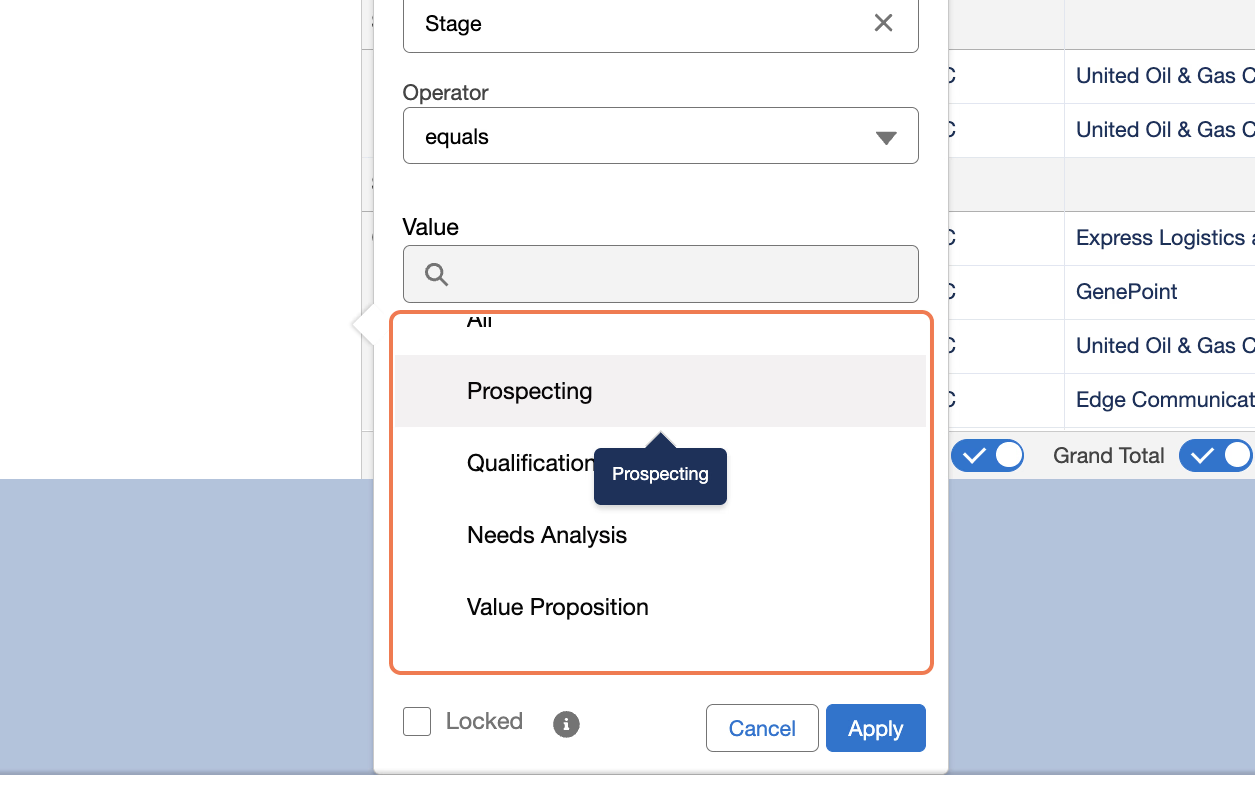
Click on Prospecting to choose it as an allowed Stage value for the report filter.
13. Select another Stage value
Click on Qualification to choose it as an allowed Stage value for the report filter.
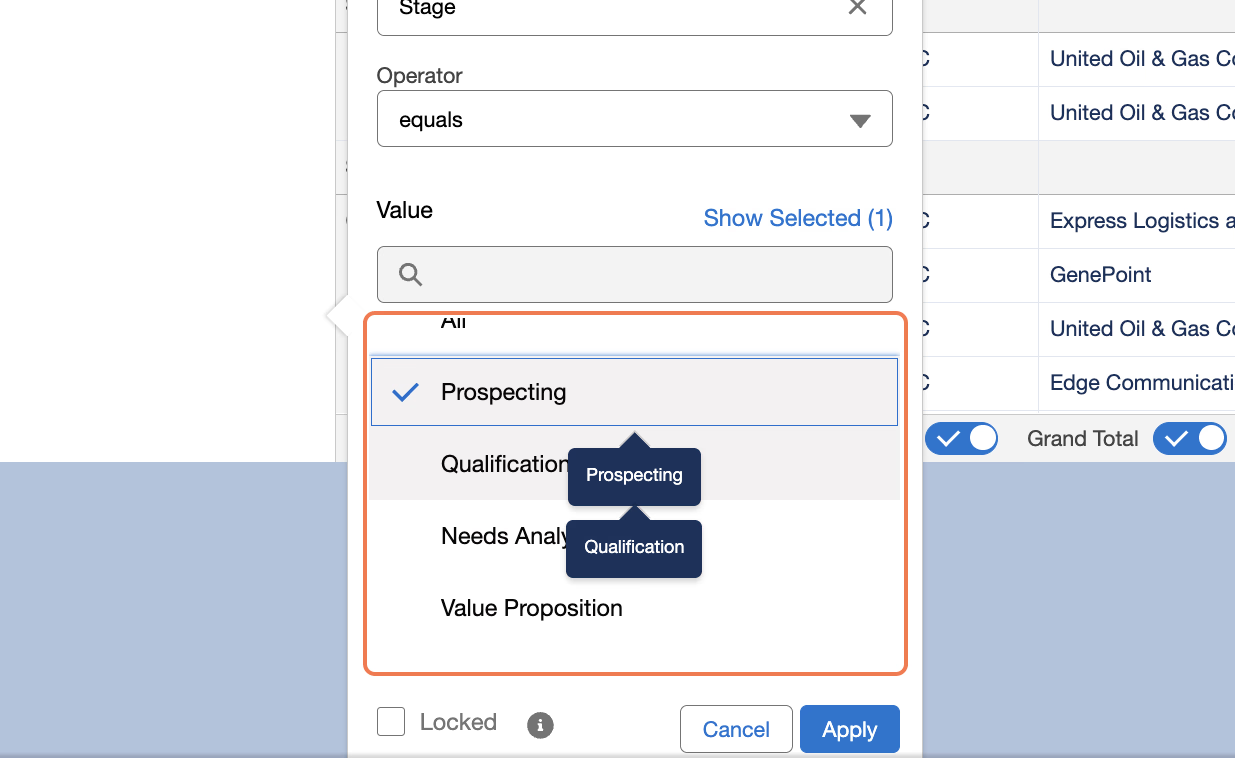
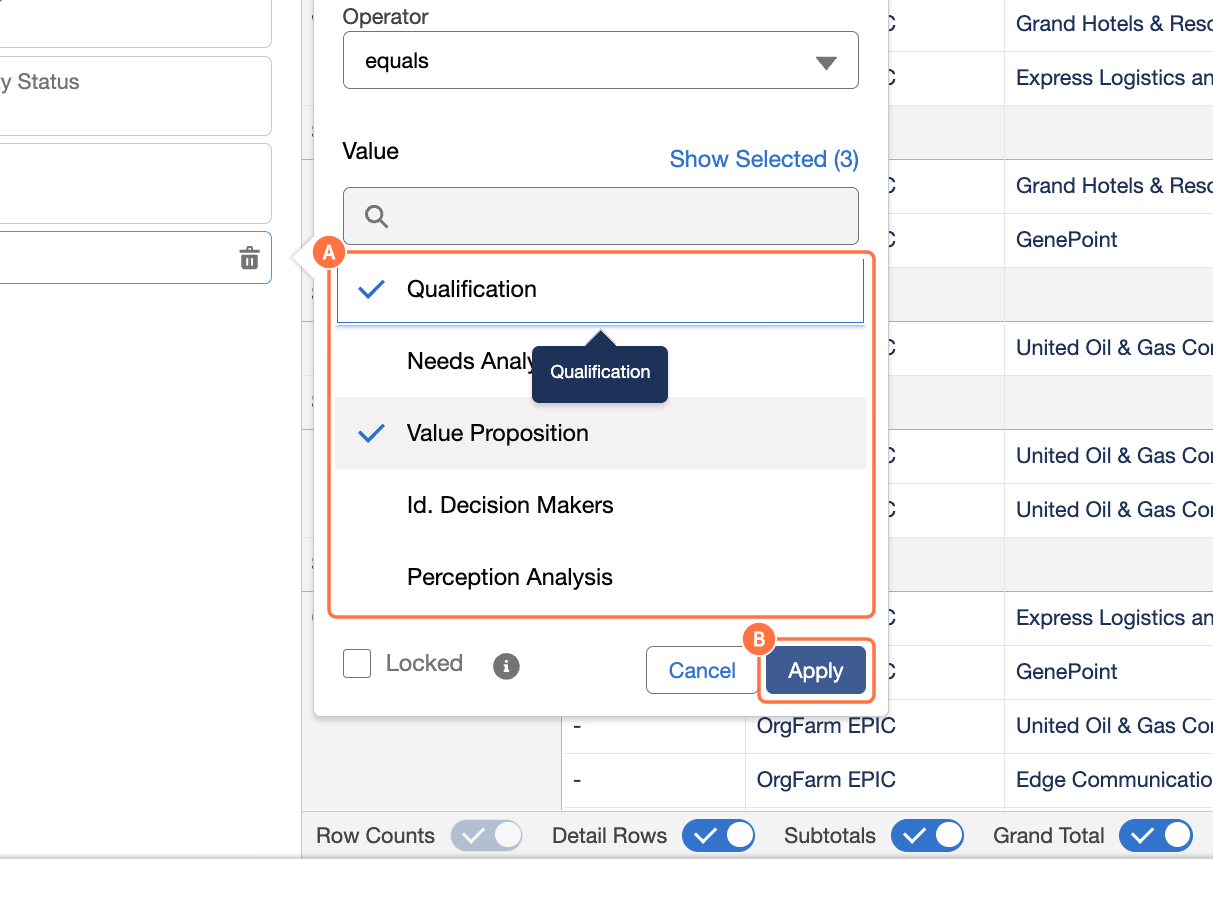
14. Select the remaining Stage value and apply the filter
A. Select options.
B. Click on Apply to update the report results.
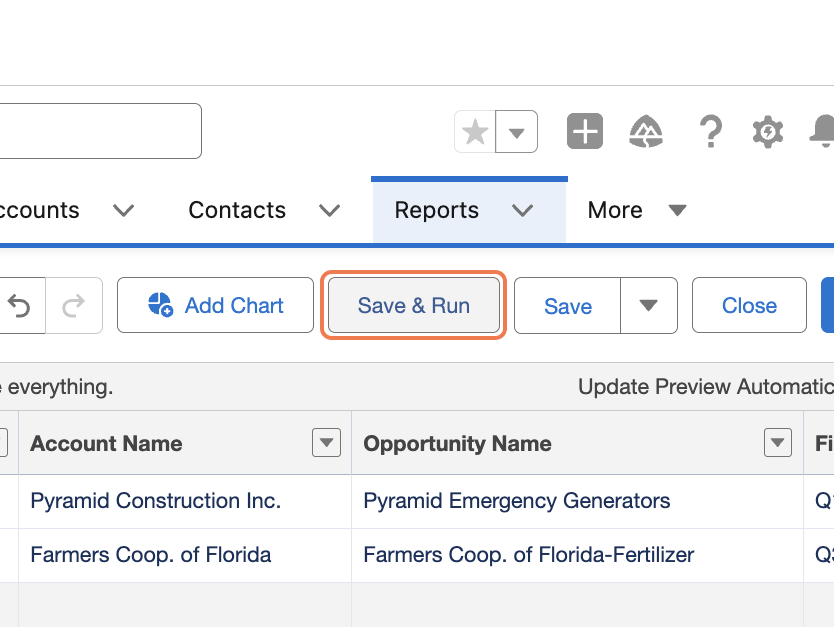
15. Save and run the report
Click on Save & Run to save the report configuration and view the latest results.
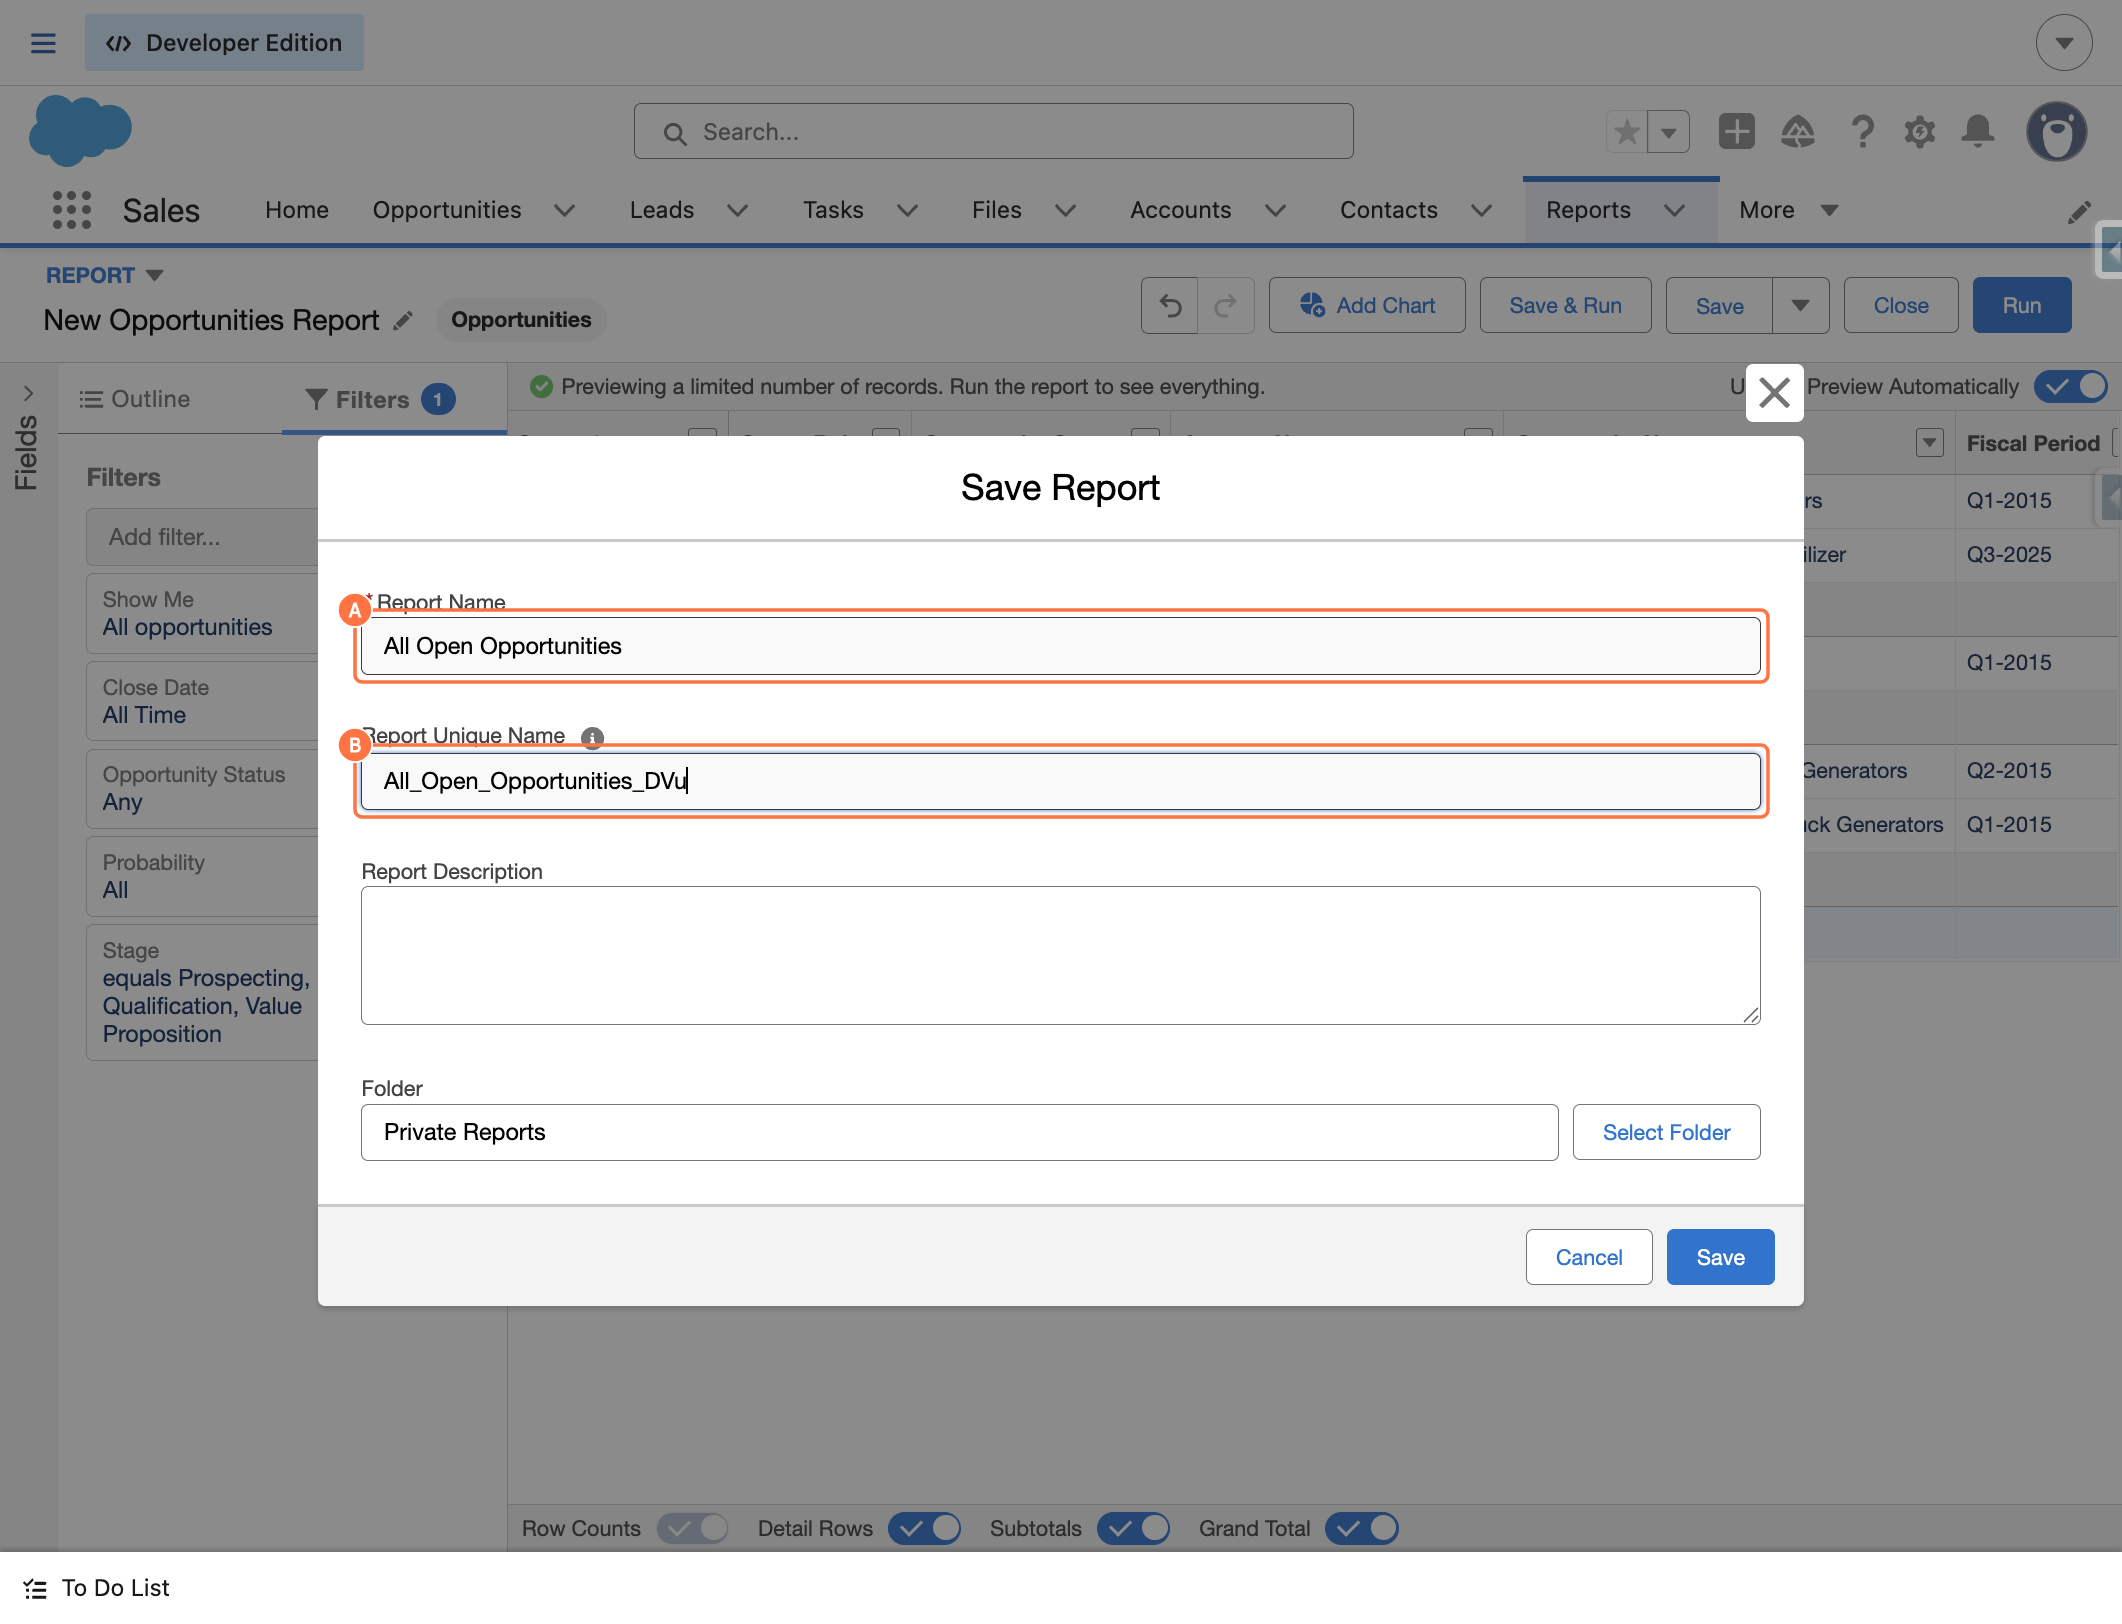
16. Name the report
A. Type a report name.
B. Click Report Unique Name.
Enter a report name (for example, GeoReport) and confirm the unique name before saving.
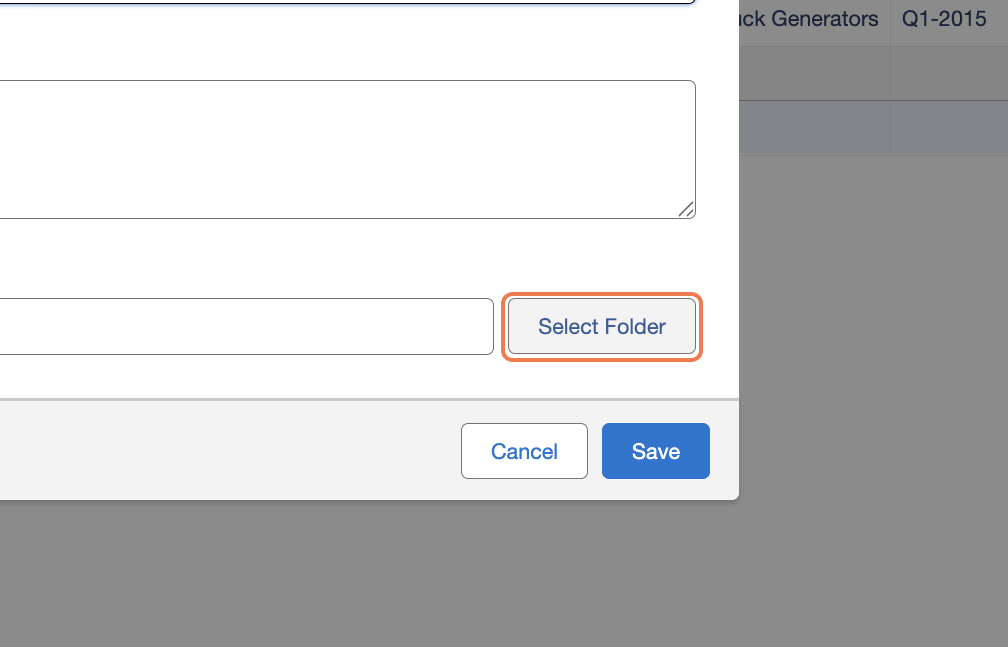
17. Select a report folder
Click on Select Folder.
Avoid Private folders so other users can access the report.
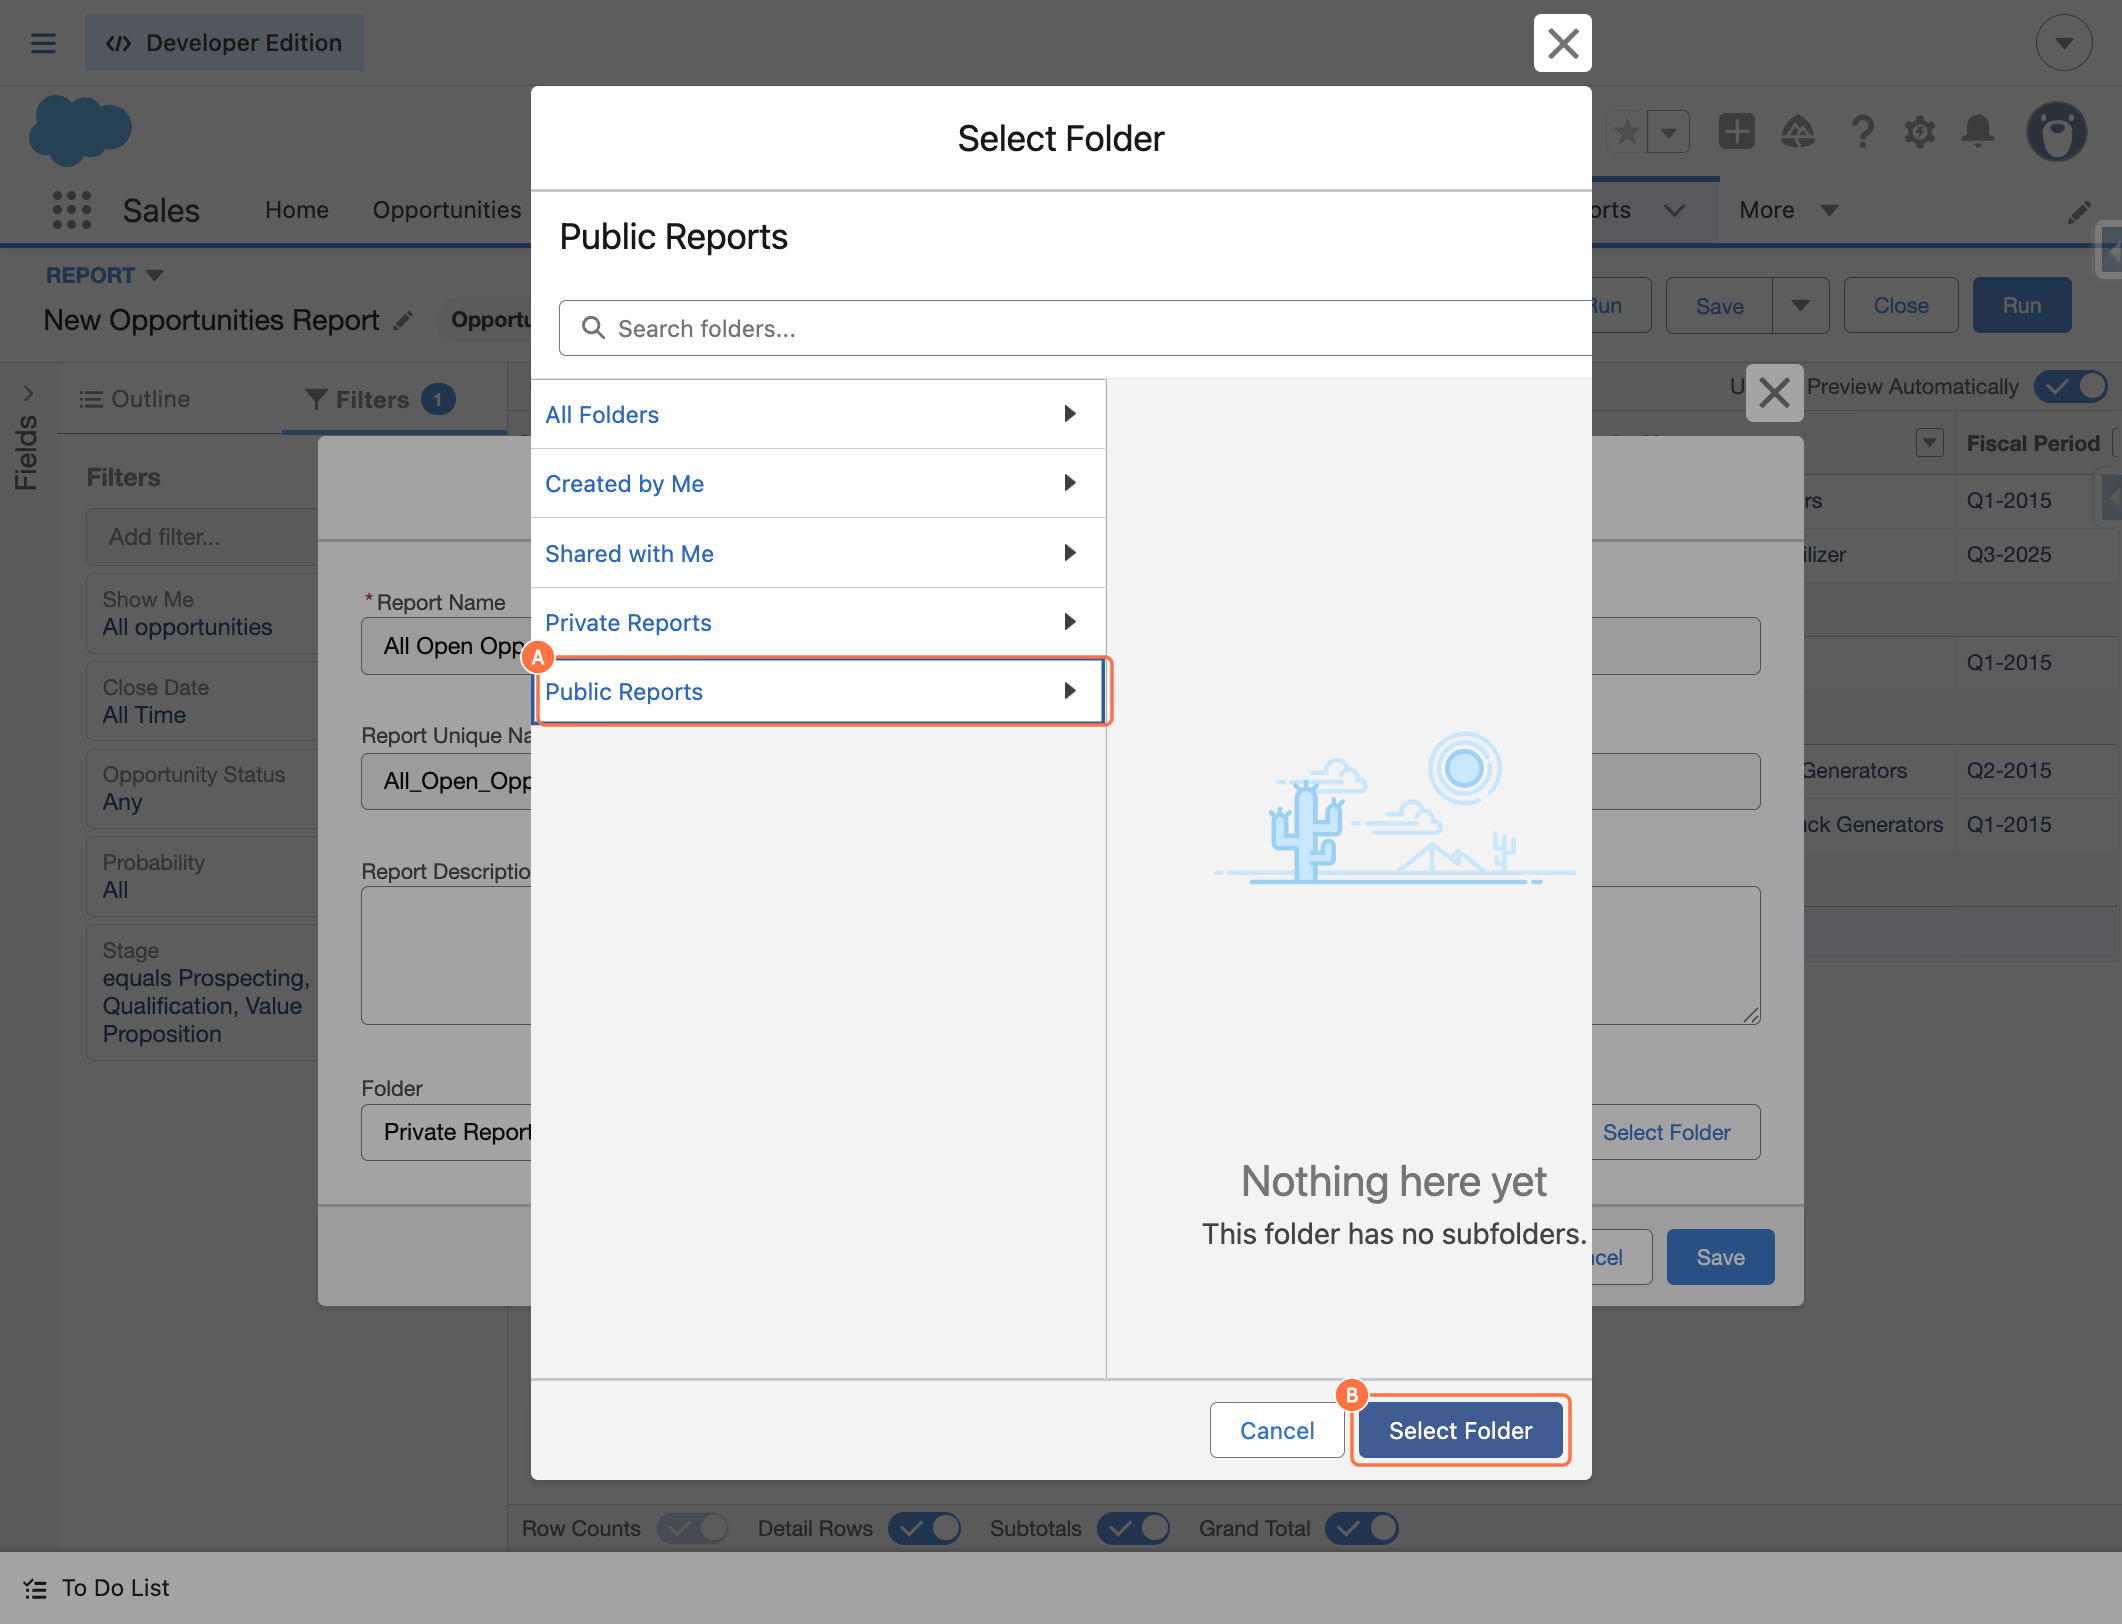
18. Select the Public Reports folder
A. Click on Public Reports.
B. Click on Select Folder.
Choose Public Reports to make the report accessible to other users.
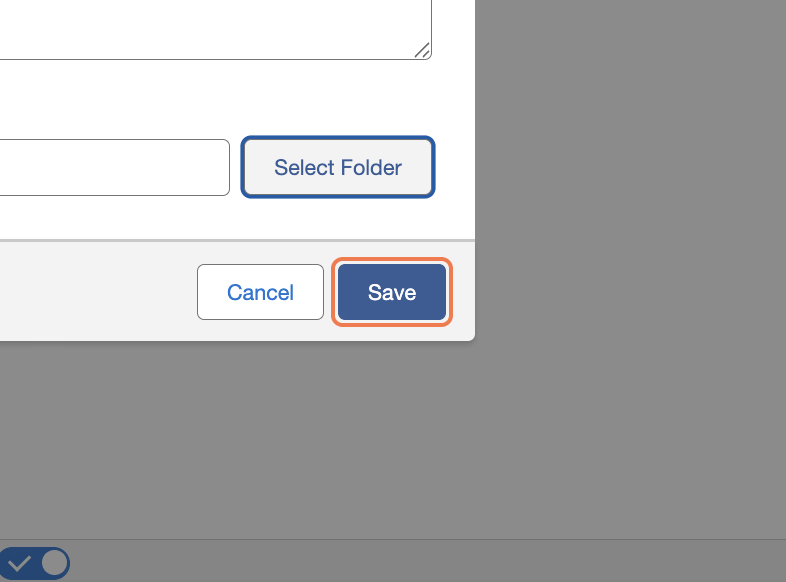
19. Save the report
Click on Save to store the report in the selected folder.
Well done! You've successfully created an Opportunity report in Salesforce. You can now customize the report further by adding additional filters, columns, or groupings to meet your reporting needs.