Want to create a dashboard in Salesforce? This step-by-step guide shows you how to create a dashboard, choose a folder, add and customize report widgets, arrange your dashboard, and save your changes.
1. Create a new dashboard
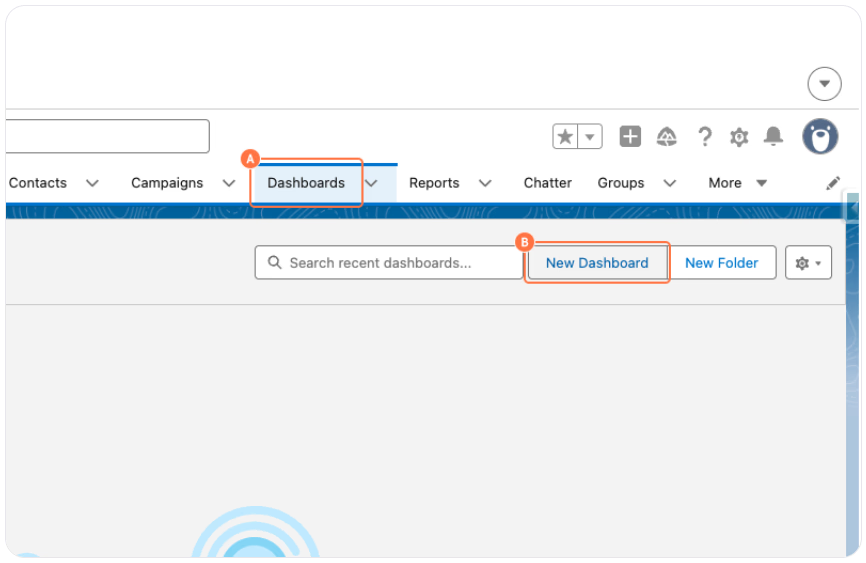
A. Click on Dashboards.
B. Click on New Dashboard.
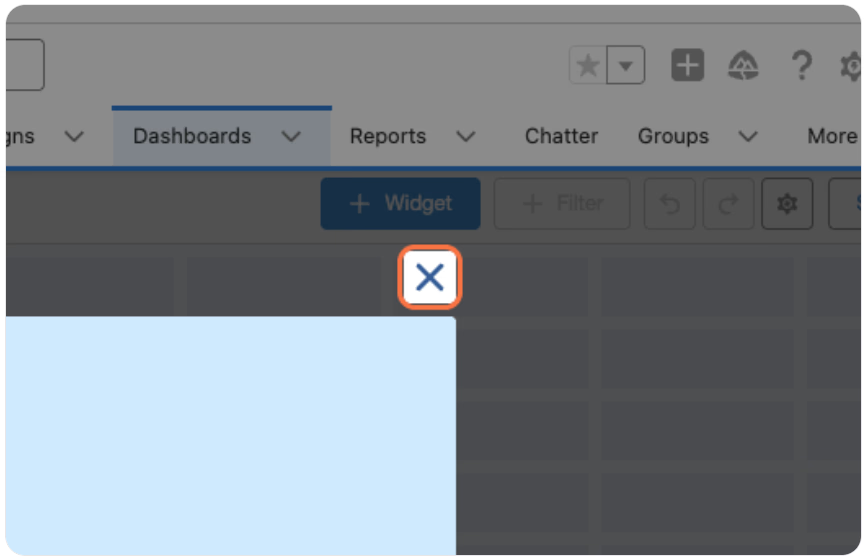
2. Close the Data Cloud Dashboards pop-up
Click on the X to close the pop-up.
3. Add the dashboard details
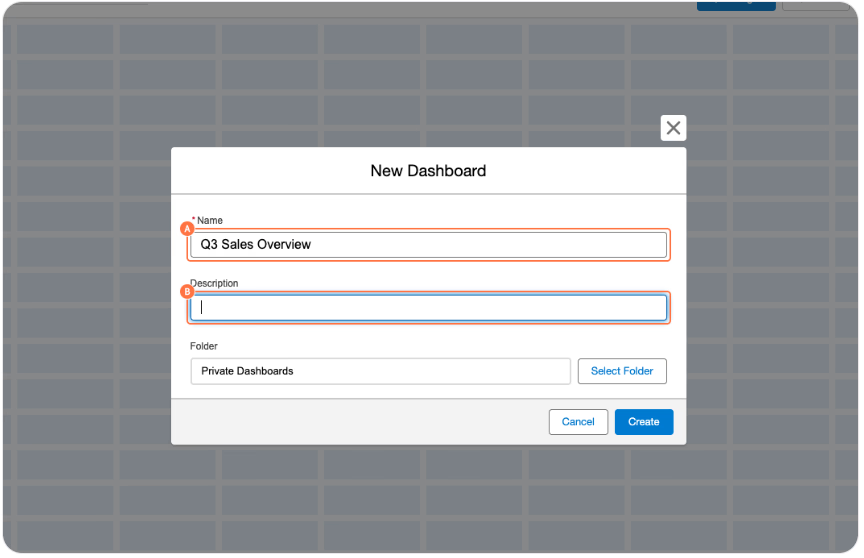
A. Enter a name in the Name field.
B. Enter a description in the Description field.
4. Choose a folder
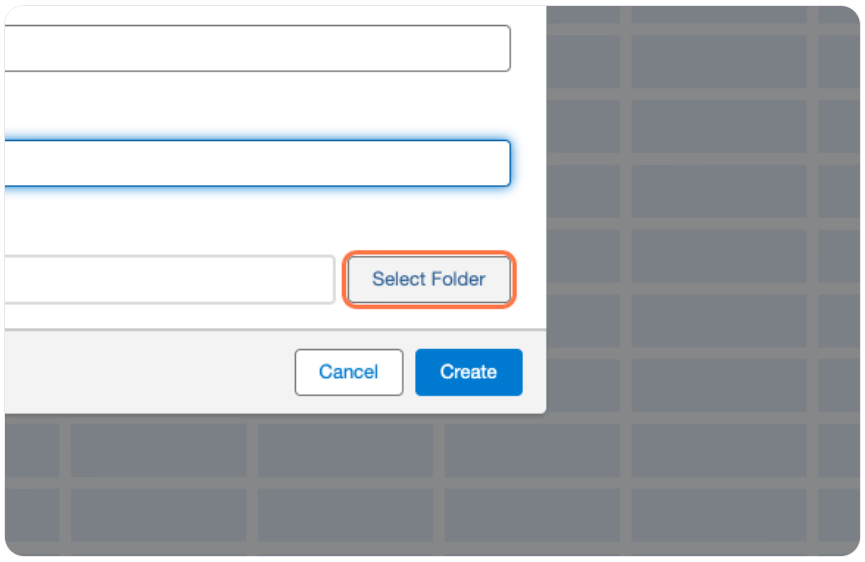
Click on Select Folder to choose where to save the dashboard.
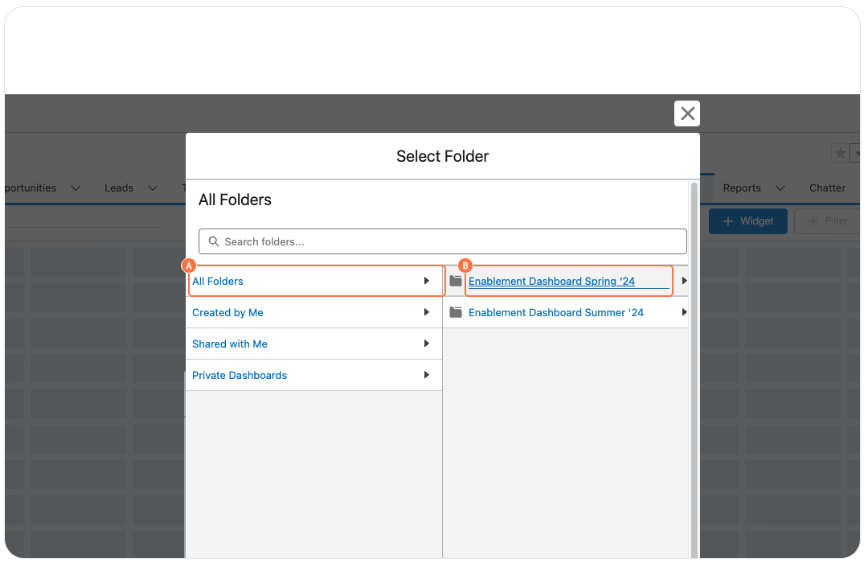
5. Select a dashboard folder
A. Click on All Folders.
B. Select the folder where you want to save the dashboard.
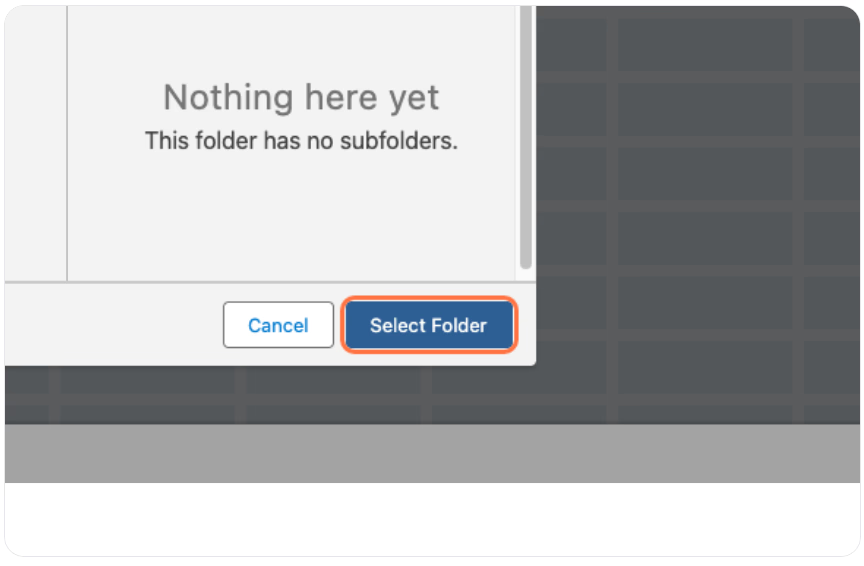
6. Confirm the folder
Click on Select Folder.
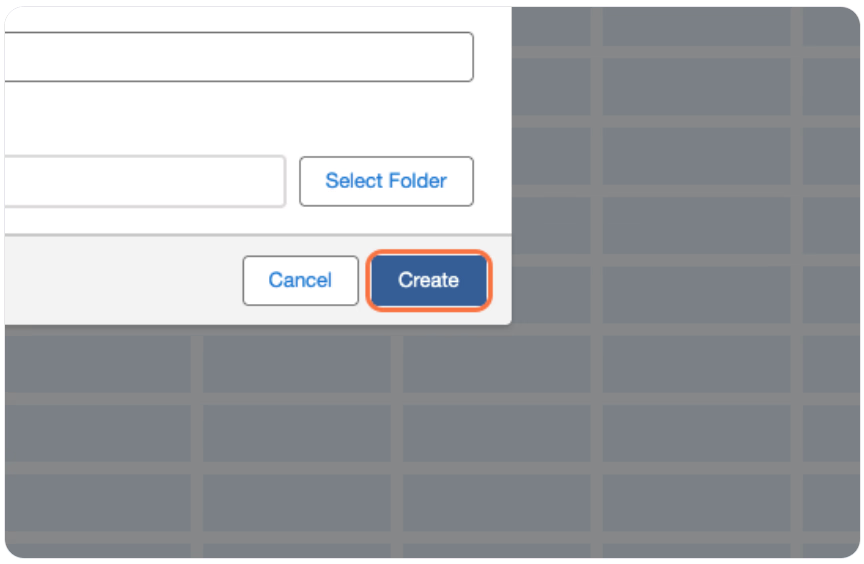
7. Create the dashboard
Click on Create.
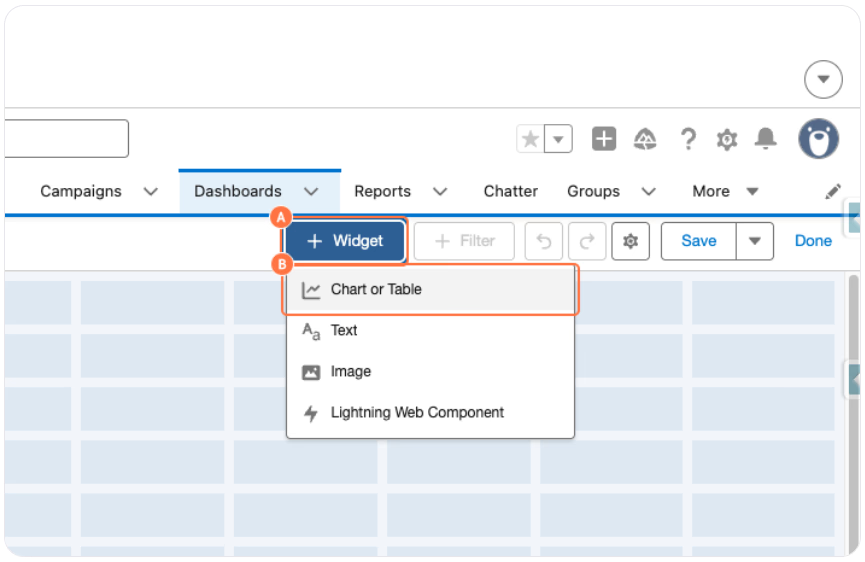
8. Add a widget
A. Click on Widget.
B. Click on Chart or Table.
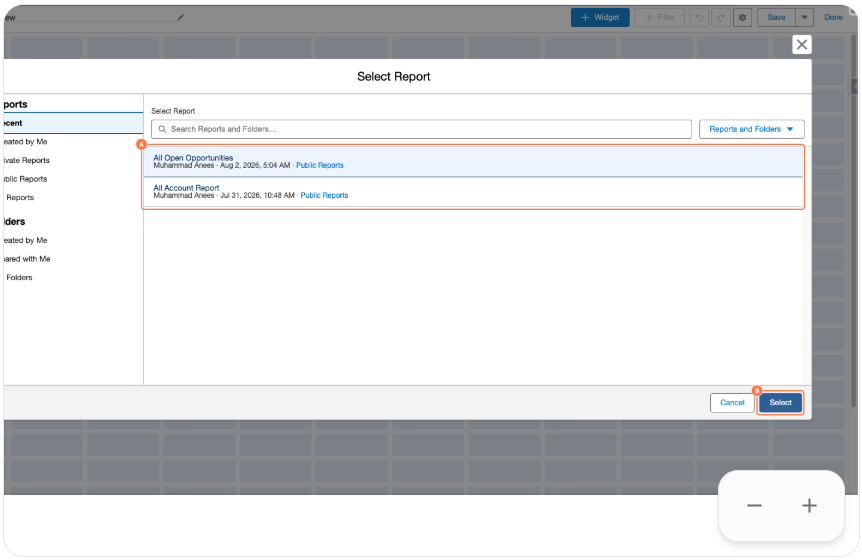
9. Select a source report
A. Select the report you want to use for the widget.
B. Click on Select.
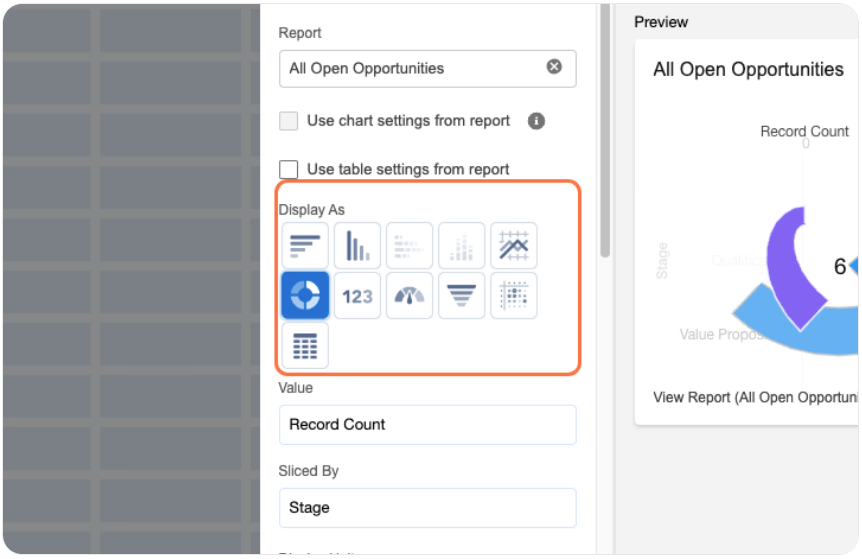
10. Choose a chart type
Select the chart type you want to use under Display As.
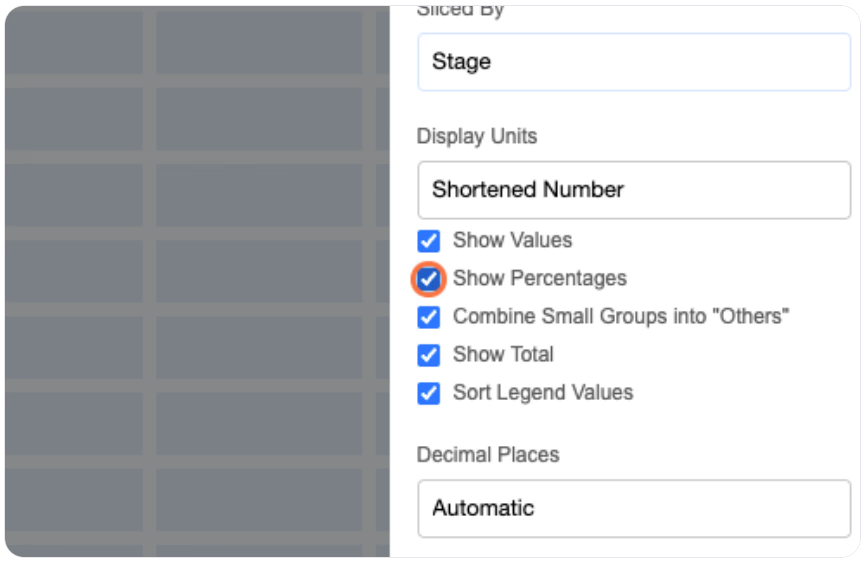
11. Show percentages
Select Show Percentages to display percentages in the chart.
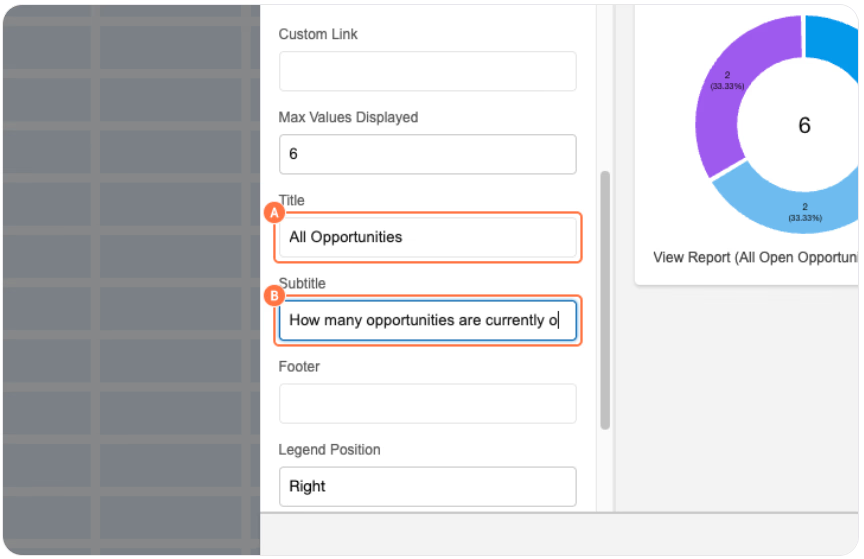
12. Add a title and subtitle
A. Enter a Title.
B. Enter a Subtitle.
Set the widget title and subtitle to control how the chart is labeled on the dashboard.
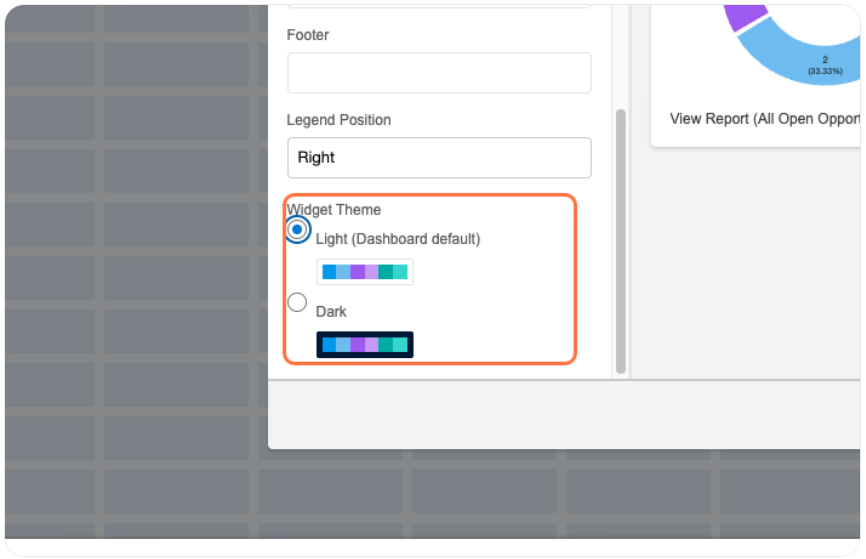
13. Choose a widget theme
Select a Widget Theme to control the widget’s appearance.
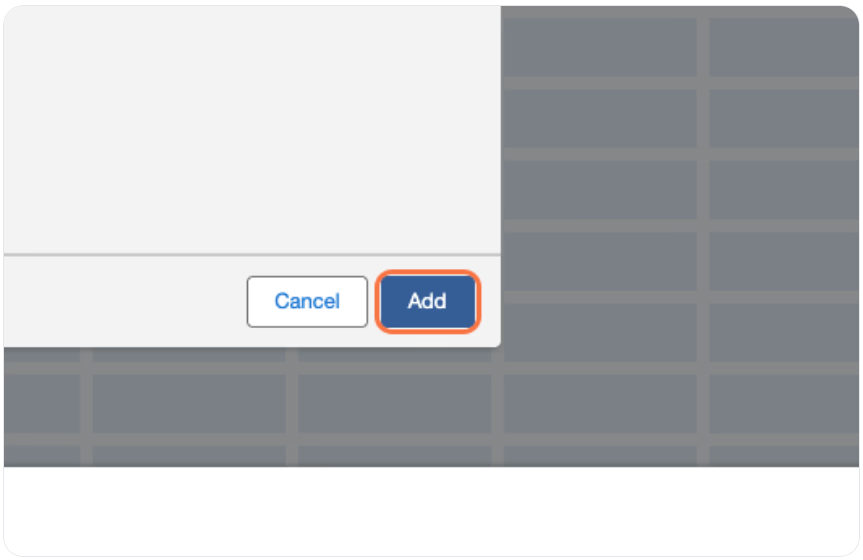
14. Add the widget
Click on Add to add the configured widget to the dashboard.
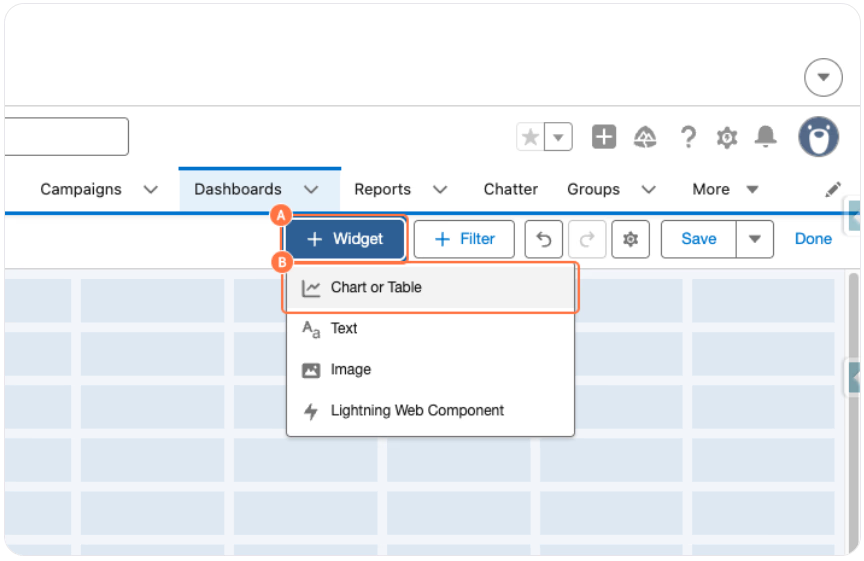
15. Add another widget
A. Click on Widget.
B. Click on Chart or Table.
Add another widget to display data from an additional report on your dashboard.
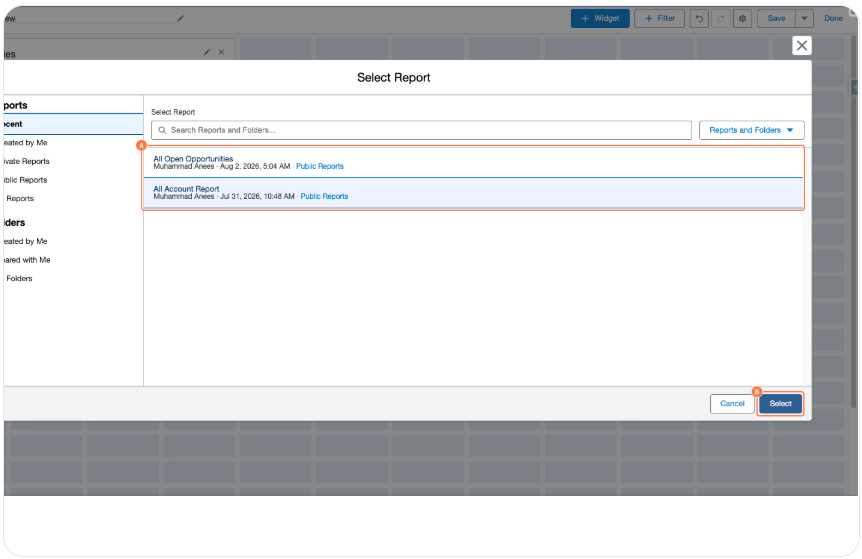
16. Select another source report
A. Select the report you want to use.
B. Click on Select.
Select another source report to configure the additional dashboard widget.
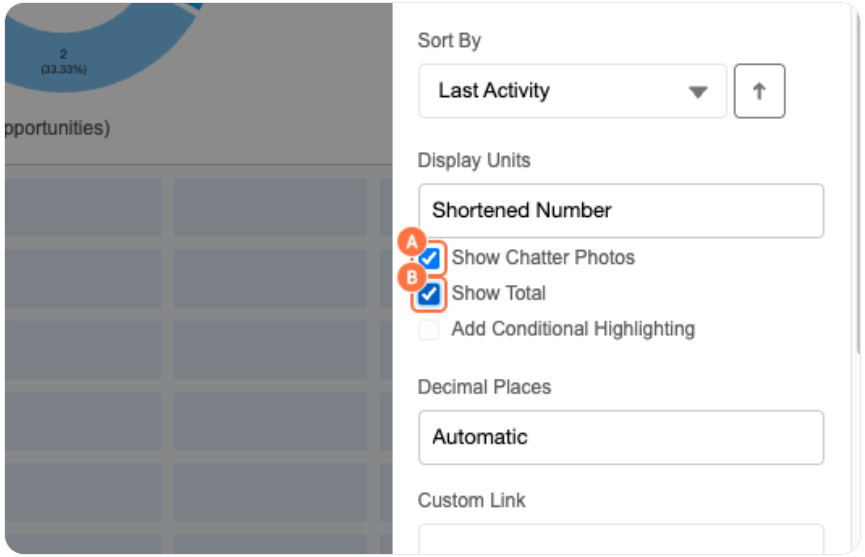
17. Choose table display options
A. Select Show Chatter Photos.
B. Select Show Total.
Choose the display options you want to use to control what information appears in the table.
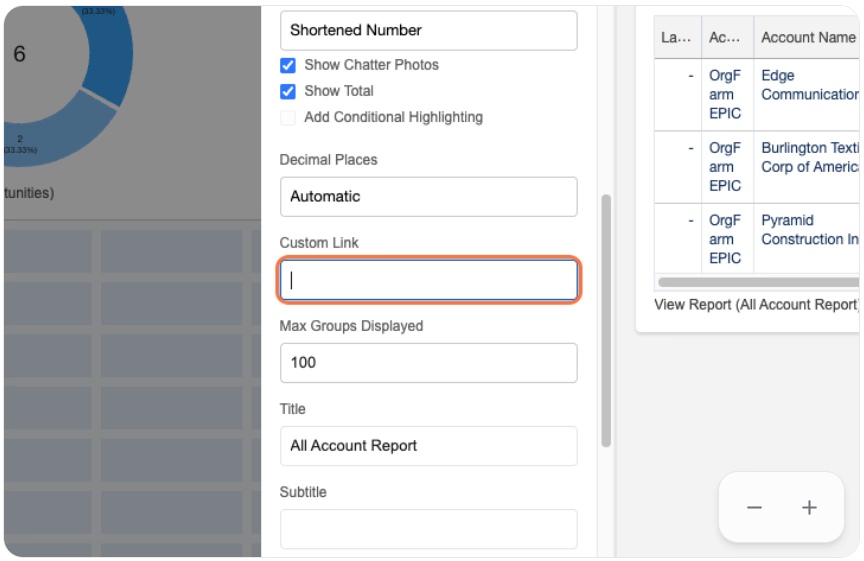
18. Add a custom link
Click on Custom Link to add a clickable link to the widget, if needed.
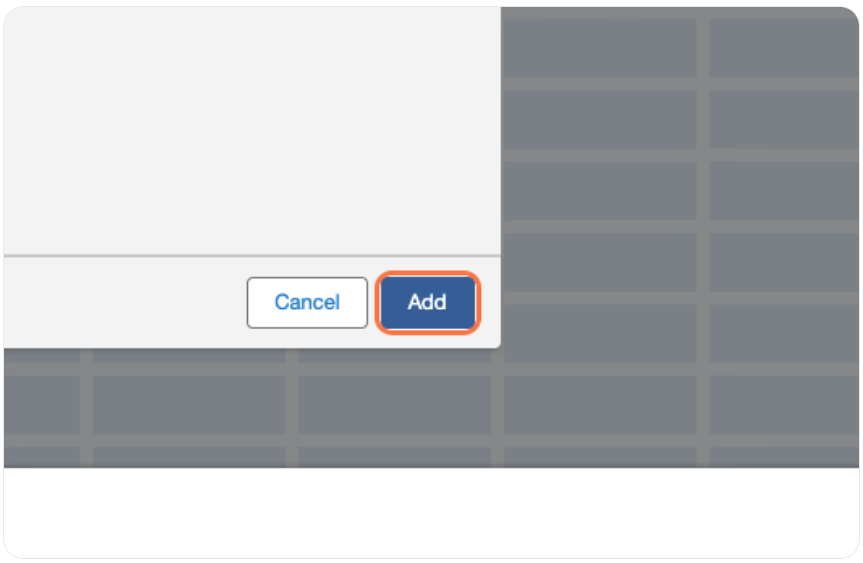
19. Add the widget
Click on Add to add the configured widget to the dashboard.
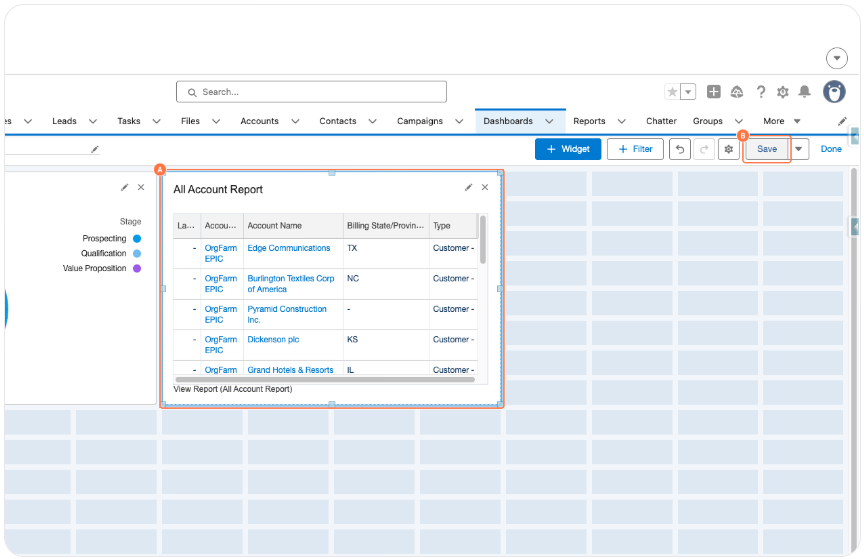
20. Arrange and save the dashboard
A. Drag the widgets to arrange them in your preferred layout.
B. Click on Save.
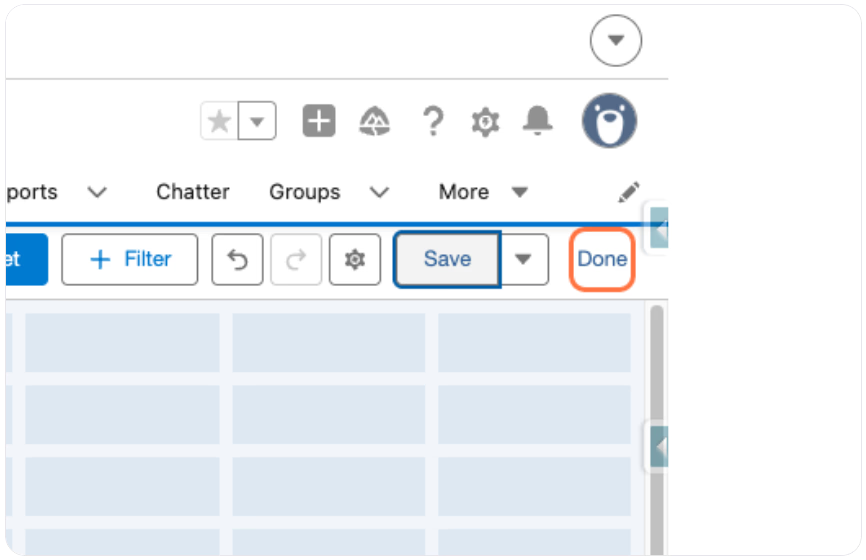
21. Finish editing the dashboard
Click on Done to exit edit mode and view the completed dashboard.
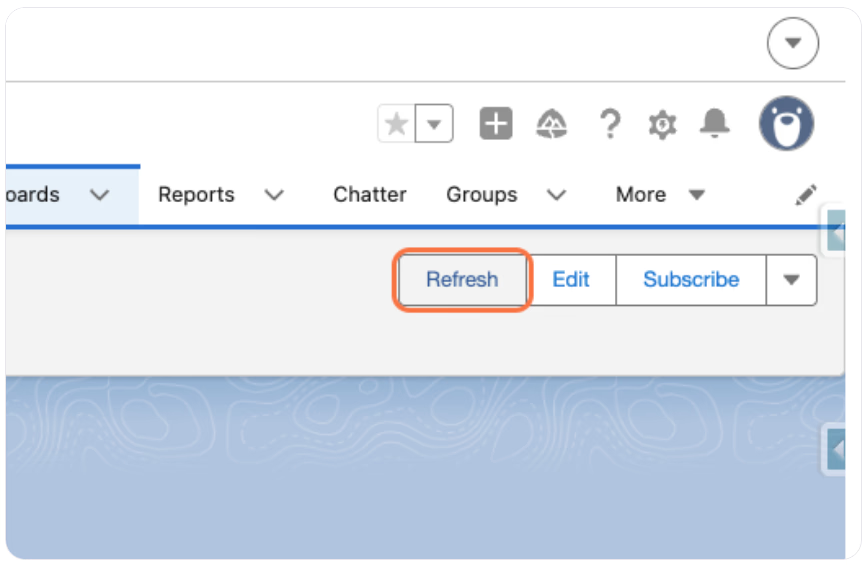
22. Refresh the dashboard
Click on Refresh to update the dashboard with the latest report data.
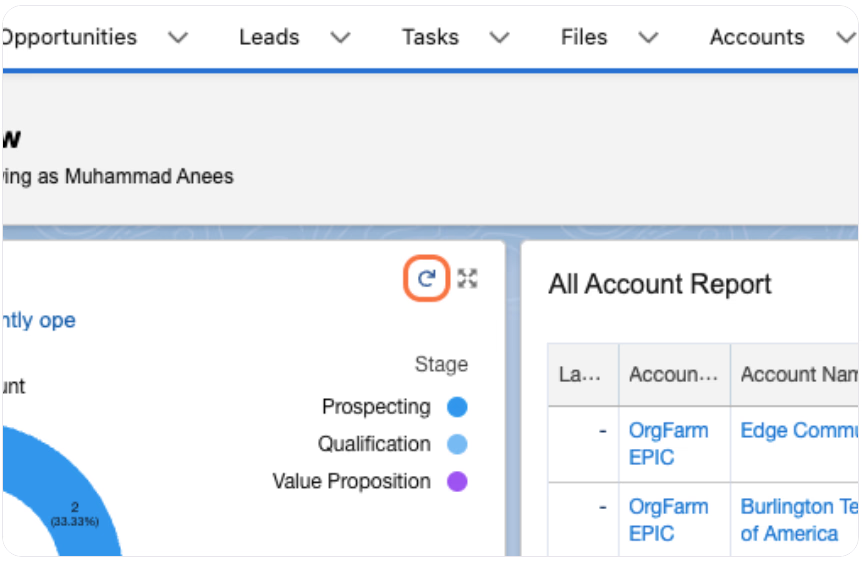
23. Refresh an individual widget
Click on the Refresh icon on a widget to update that widget with the latest report data.
Well done! You've successfully created a dashboard in Salesforce.