Need to create an app in Salesforce? This step-by-step guide shows you how to create a Lightning app using App Manager, customize its settings, add navigation items, assign user profiles, and launch the finished app.
1. Open Setup
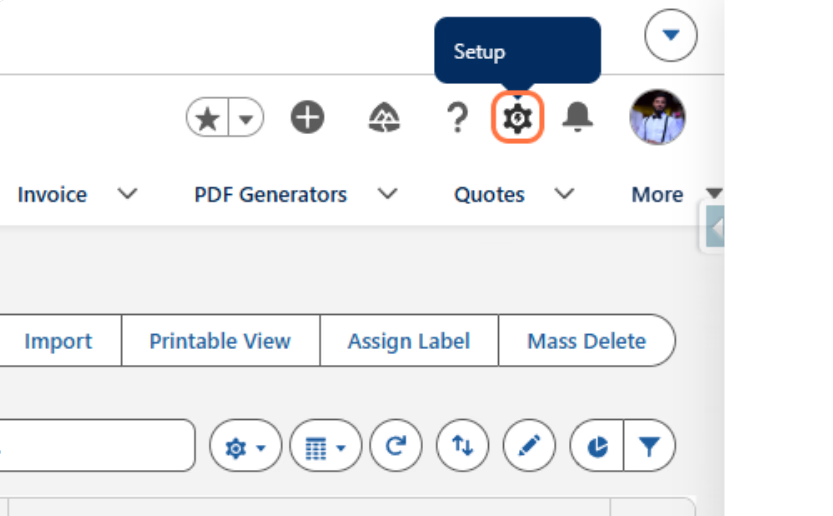
Click on Setup.
2. Open the Setup app
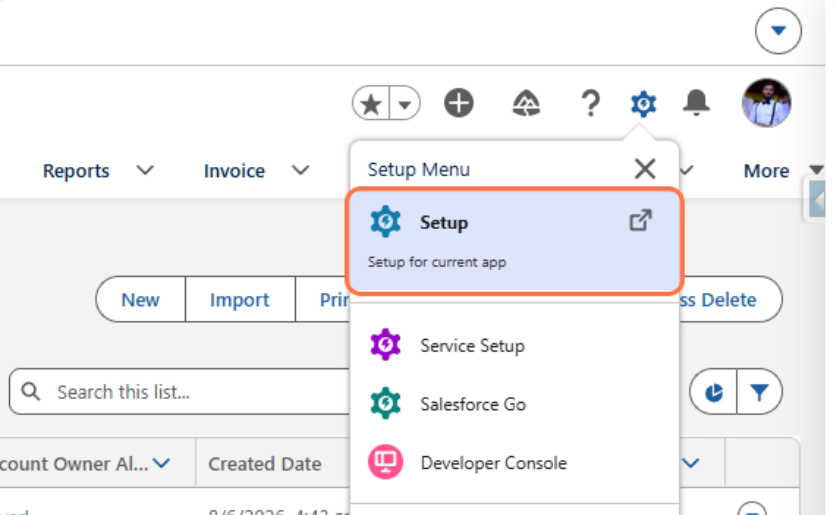
Click on Setup to open Salesforce Setup in a new tab.
3. Open App Manager
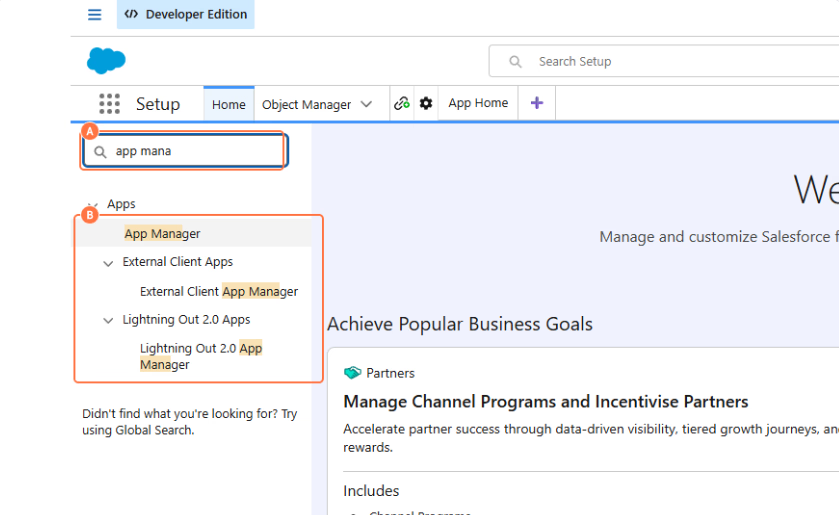
A. Type App Manager in the Quick Find box.
B. Select App Manager.
4. Create a new Lightning app
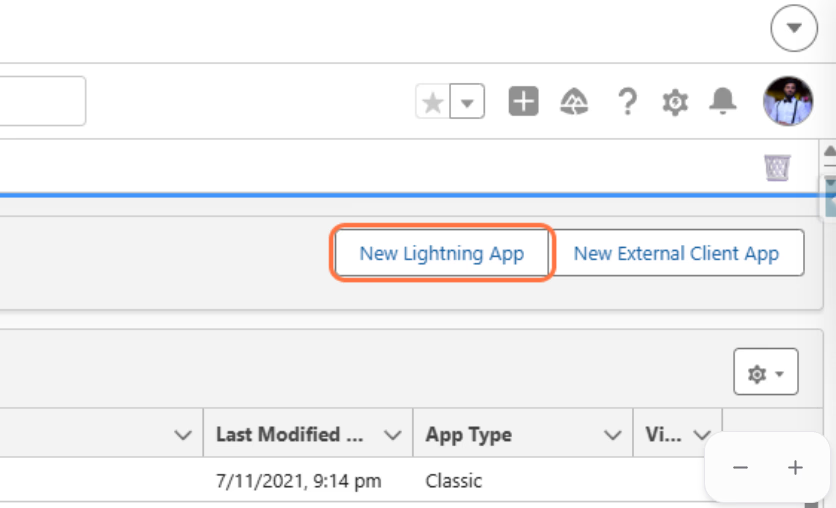
Click on New Lightning App.
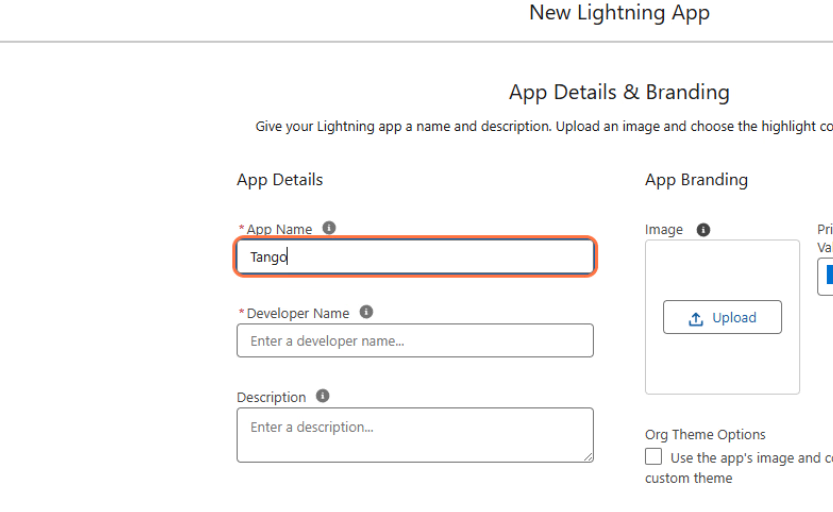
5. Name the app
Enter a name in the App Name field.
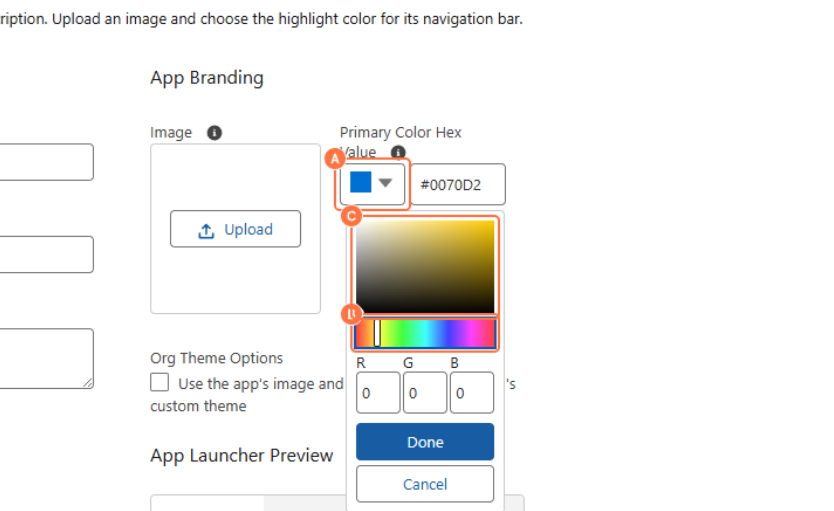
6. Choose an app color
A. Click on the Primary Color dropdown.
B. Select a color from the color spectrum.
C. Adjust the color using the color picker.
This customizes the primary color used for your app’s branding.
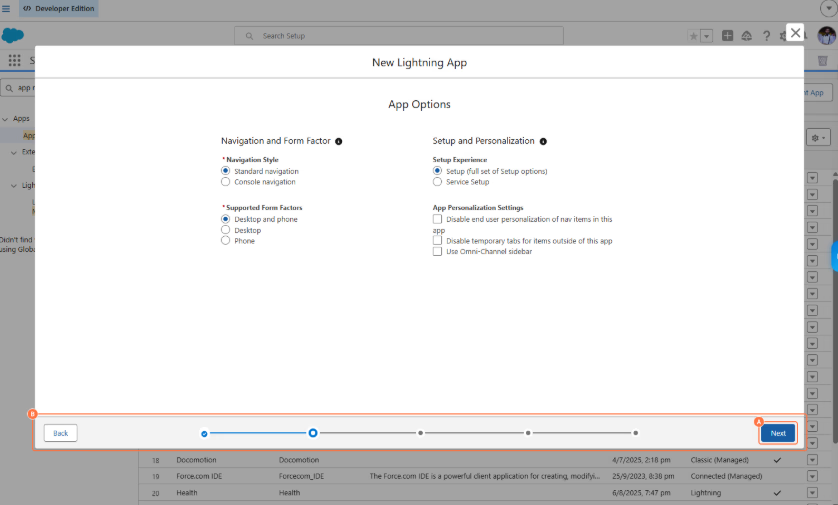
7. Review the app options
A. Click Next to continue with the default app options.
B. Click Back if you need to return to the previous screen.
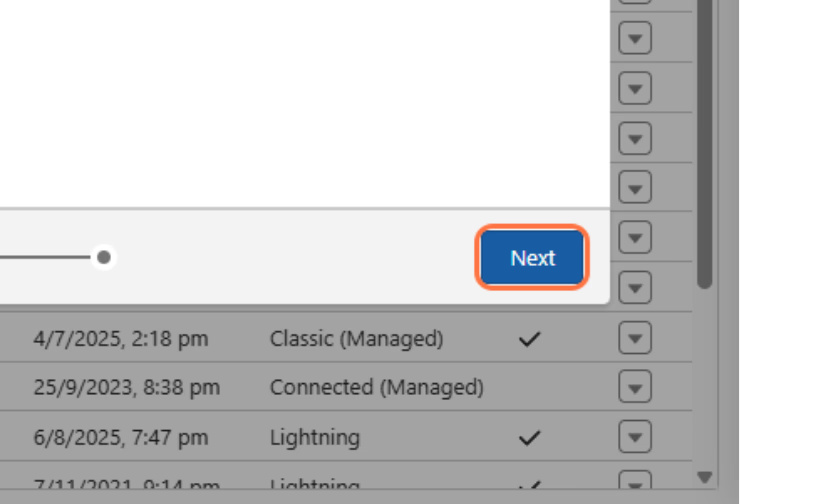
8. Continue with app setup
Click on Next.
9. Select a navigation item
Select an item from Available Items.
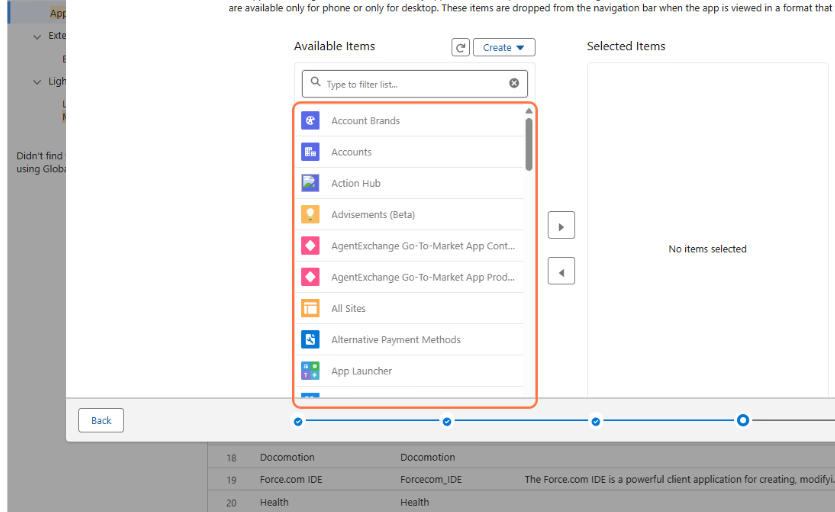
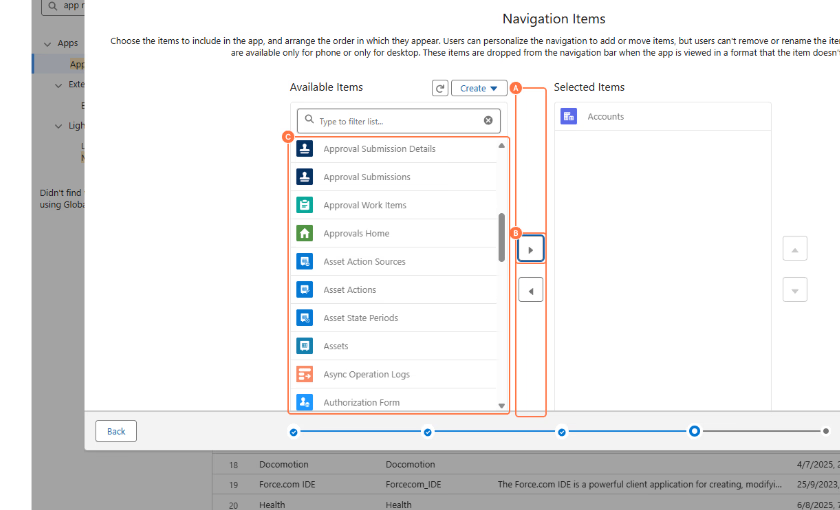
10. Add navigation items
A. Select an item from Available Items.
B. Click on the right arrow to add it to Selected Items.
C. Select another item from Available Items.
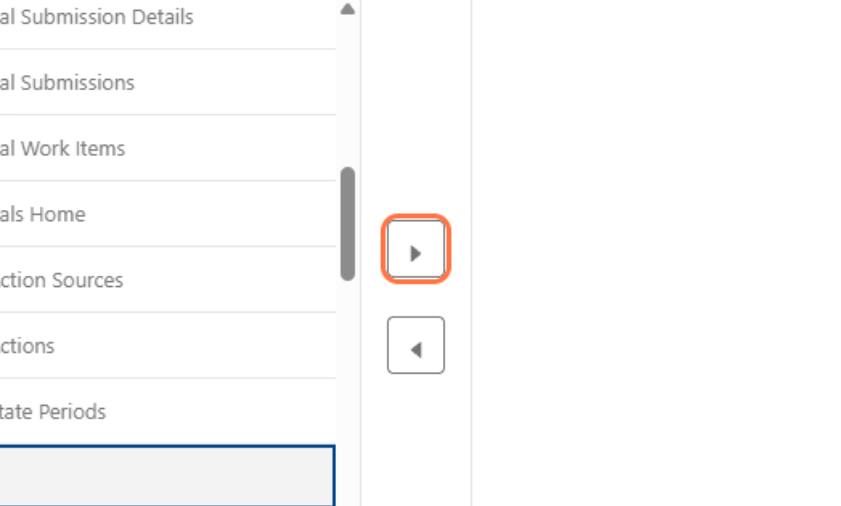
11. Add the navigation item
Click on the right arrow to move the selected item to Selected Items.
12. Continue to profile assignment
Click on Next.
13. Select a profile
Select a profile from Available Profiles.
.avif)
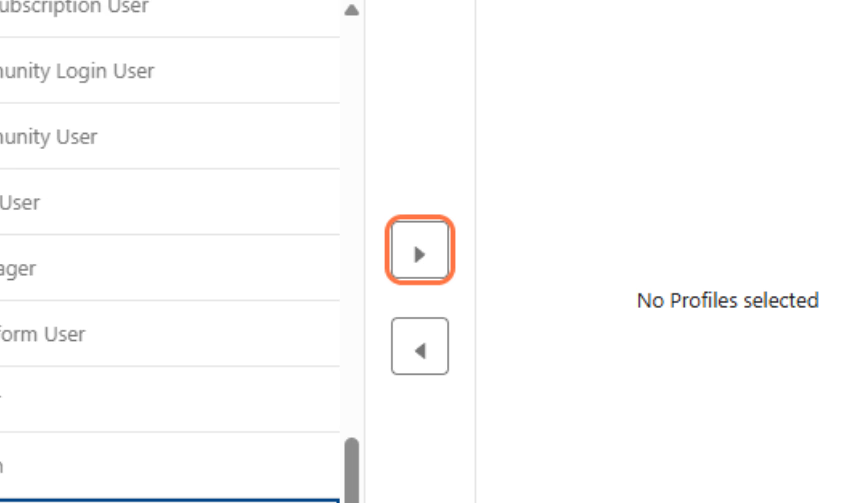
14. Add the profile
Click on the right arrow to add the selected profile.
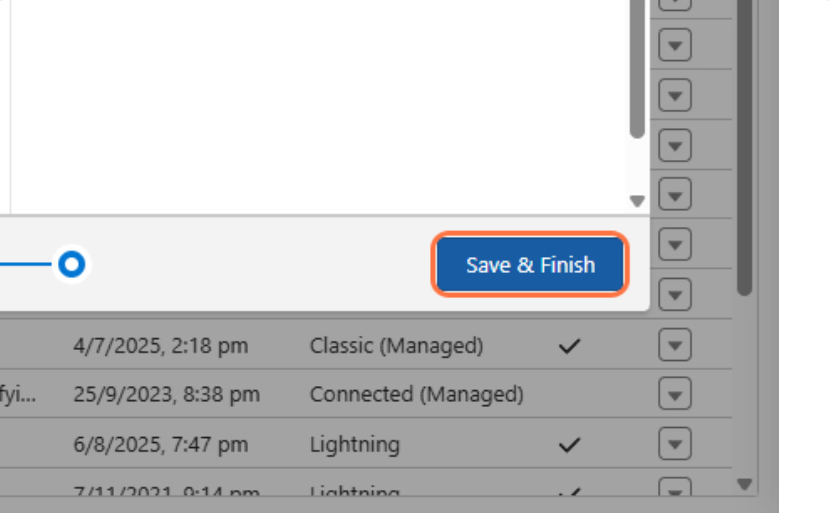
15. Save the app
Click on Save & Finish.
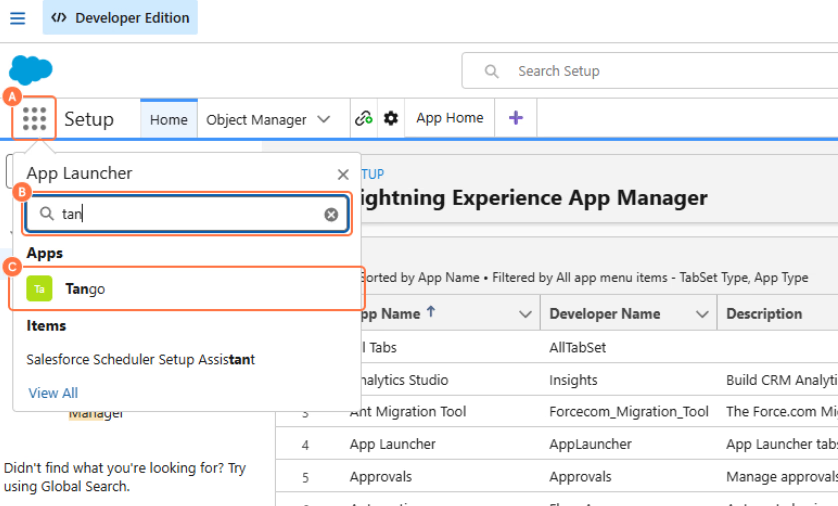
16. Open the new app
A. Click on the App Launcher.
B. Search for the app you created.
C. Select the app from the search results.
Well done! You've successfully created a Lightning app in Salesforce.