Need to create a folder in Salesforce? This step-by-step guide shows you how to create a report folder, name it, and share it with other users by setting the appropriate access level.
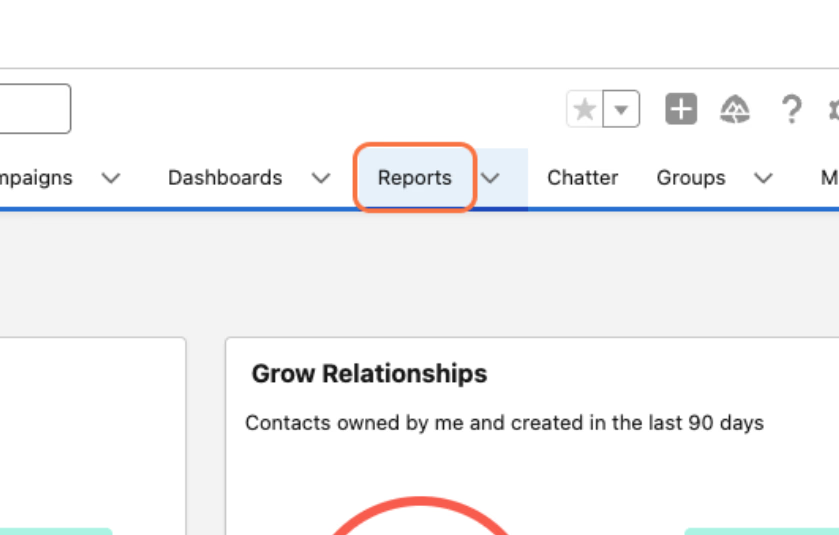
1. Open the Reports tab
Click on Reports.
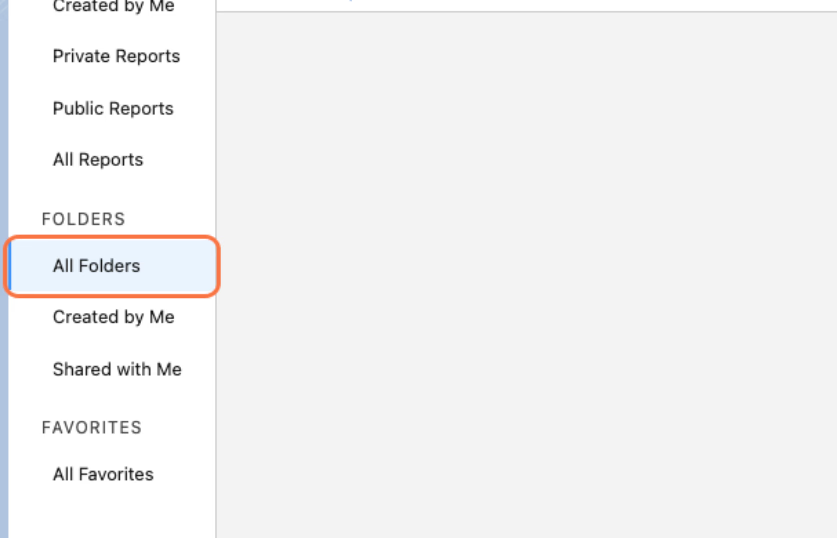
2. View all report folders
Click on All Folders.
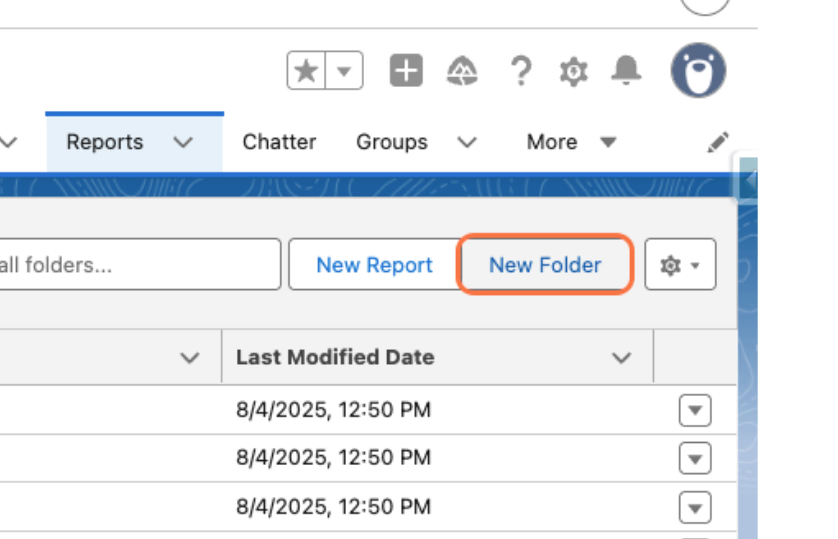
3. Create a new folder
Click on New Folder.
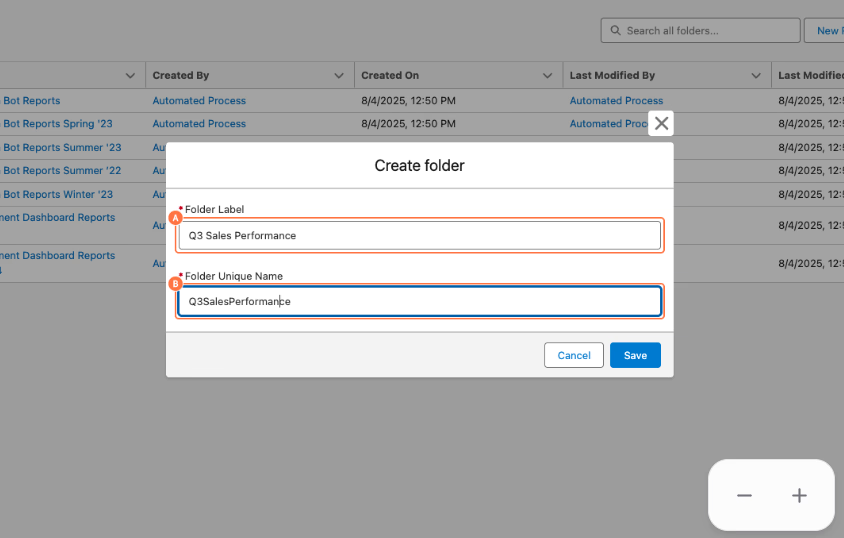
4. Name the folder
A. Enter a name in the Folder Label field.
B. Confirm the Folder Unique Name.
The Folder Unique Name is automatically generated based on the folder label.
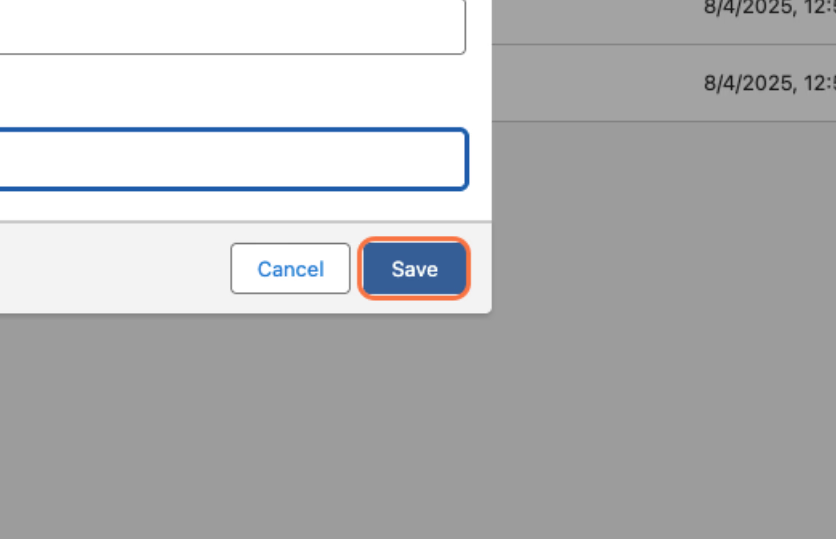
5. Save the folder
Click on Save to create the folder.
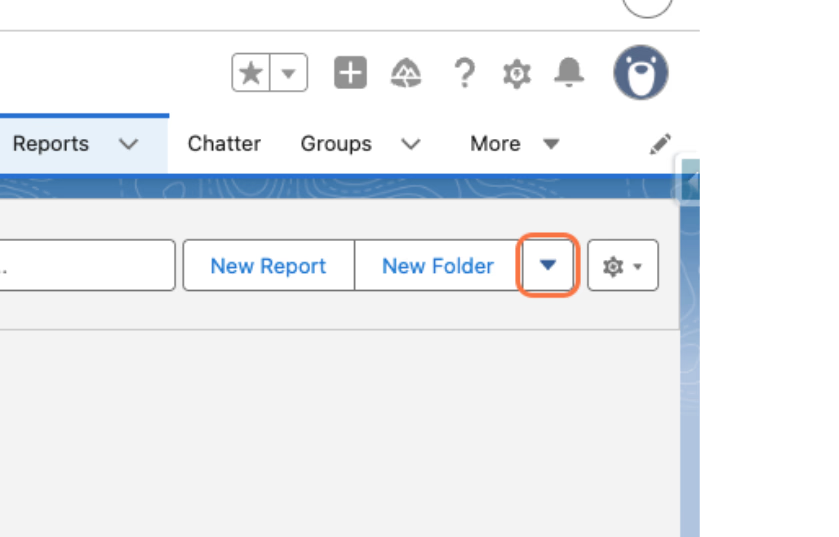
6. Open the folder dropdown menu
Click on the dropdown arrow next to the folder.
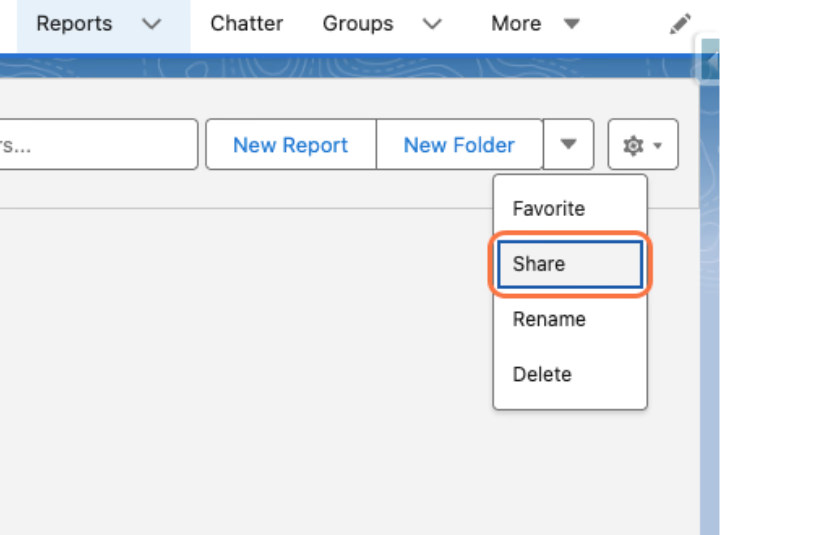
7. Open the sharing settings
Click on Share.
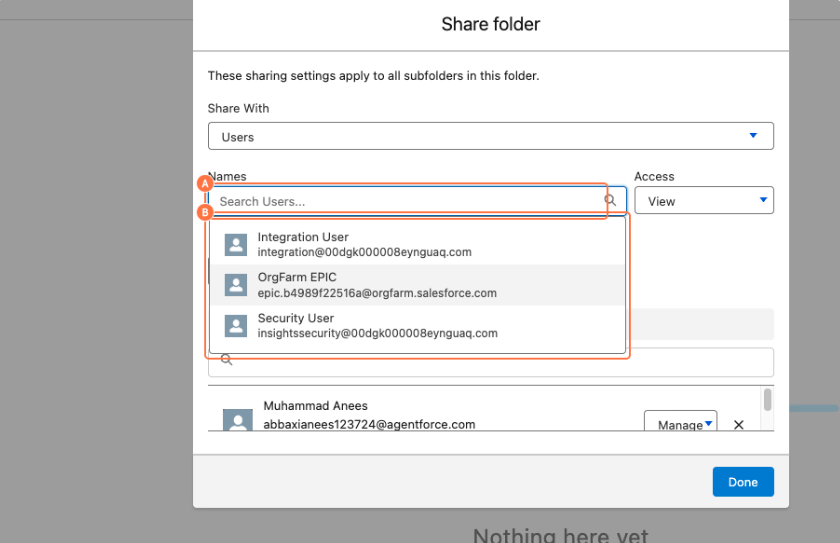
8. Select a user to share the folder with
A. Type the user's name in the Search Users field.
B. Select the appropriate user from the results.
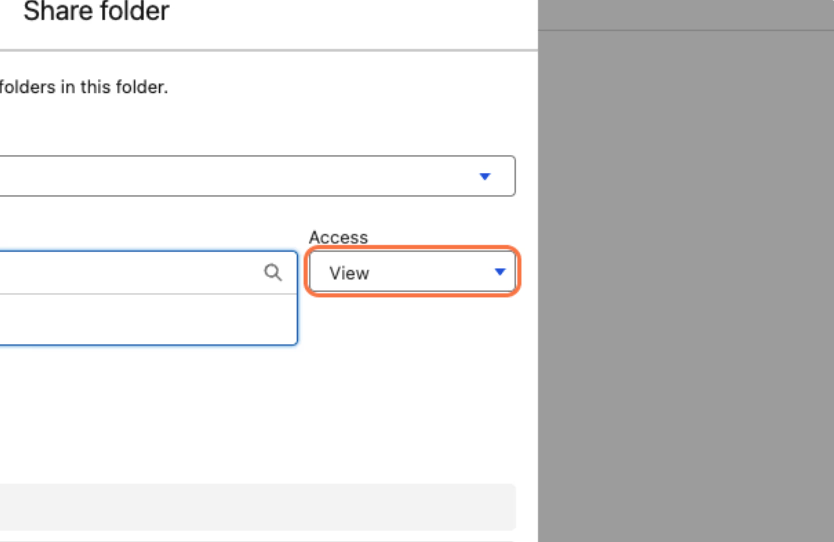
9. Open the access dropdown
Click on the Access dropdown.
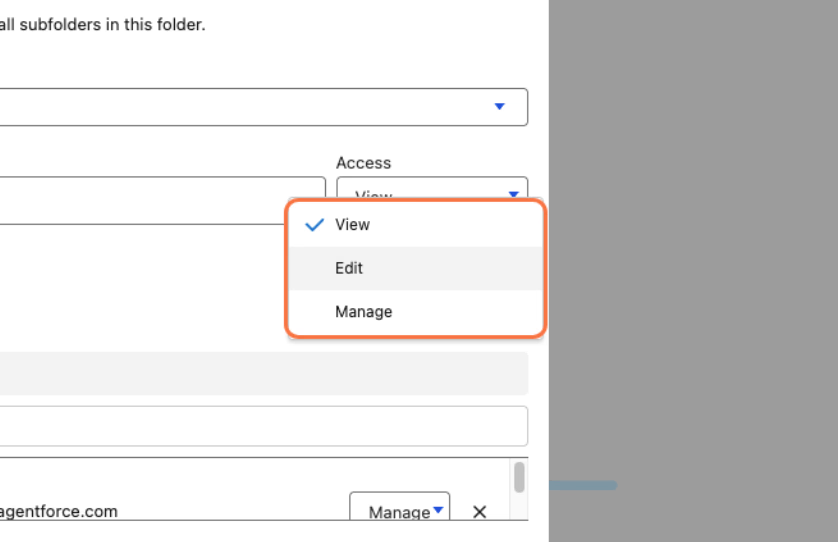
10. Select an access level
Select the appropriate access level.
Choose View, Edit, or Manage based on the level of access you want to provide.
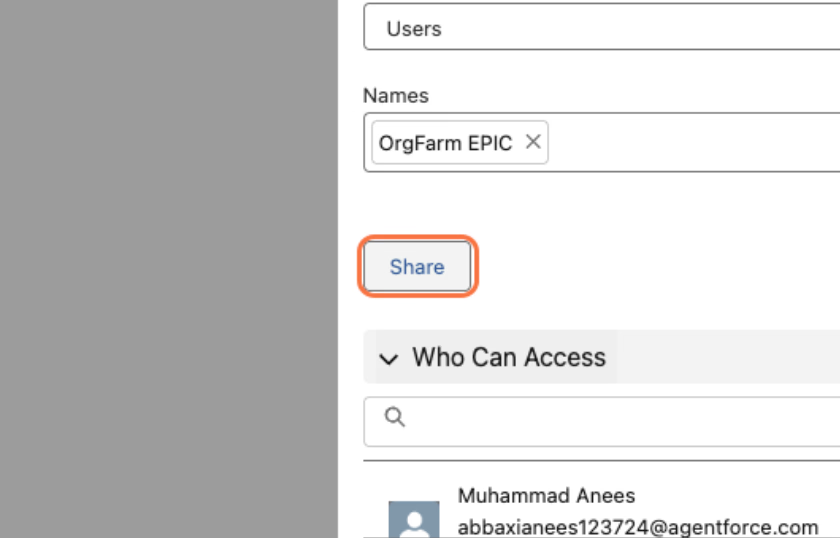
11. Share the folder
Click on Share to apply the selected user and access level.
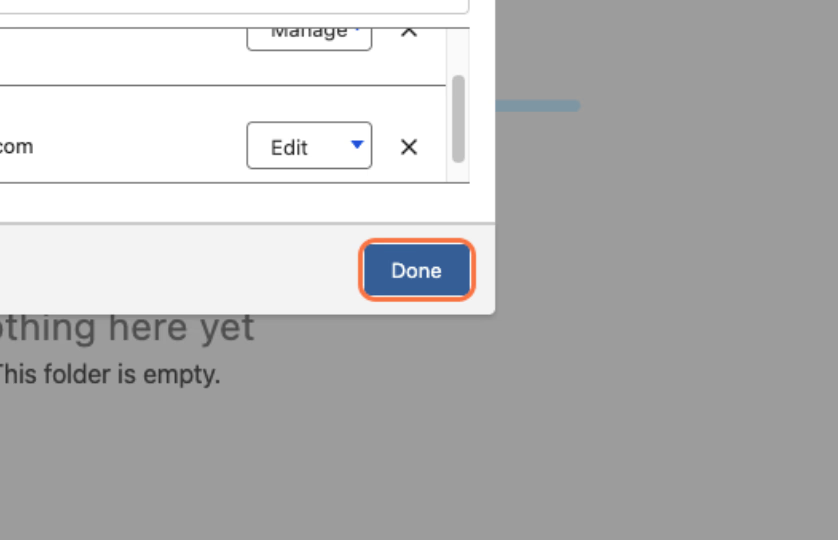
12. Finish sharing
Click on Done.
Well done! You've successfully created and shared a report folder in Salesforce. You can now use the folder to organize reports and control who can access them.