How to create step-by-step instructions with screenshots


A step-by-step guide shouldn’t take longer to create than the process itself. But when every step needs its own screenshot and explanation, even a simple workflow can turn into a documentation project.
Here’s how to create clear step-by-step instructions with screenshots, whether you want to build them manually or capture the process automatically.
How to create step-by-step instructions with screenshots
Good step-by-step instructions show someone what to do, where to do it, and what should happen next. The key is to capture the right moments in the process and pair each screenshot with a clear action.
Here’s the basic process:
- Define the process. Choose one specific task and the outcome someone should reach by following your instructions.
- Walk through the workflow. Complete the process yourself from start to finish so you know exactly which actions need to be documented.
- Capture the important actions. Take screenshots at the points where seeing the screen will help someone understand what to click, enter, or select.
- Add instructions and visual cues. Pair each screenshot with a short description and use highlights, arrows, or annotations when the action isn't immediately obvious.
- Put the steps in order. Organize everything in the same sequence someone will follow when completing the process.
- Test your instructions. Ask someone unfamiliar with the process to follow the guide and flag anything that's unclear or missing.
- Share and maintain the guide. Put the instructions somewhere your team can easily access them and update the guide when the process changes.
There are two ways to handle that work: build the guide manually or capture the process automatically as you work.
Manual screenshots vs. automatic process capture
The biggest difference is when the documentation work happens. With the manual approach, creating the guide is a separate task. With automatic process capture, much of the documentation is created while you're already performing the workflow.
The manual way: Take and organize screenshots yourself
If your current process is taking screenshots with the Snipping Tool, pasting them into Microsoft Word or Google Docs, and typing out instructions for each step, you're doing it the manual way.
Complete the first action in your process and take a screenshot. Crop the image to what matters, then add any arrows, boxes, or highlights needed to show the reader where to look. Paste the screenshot into your document, write a short instruction underneath it, and repeat the process for each action in the workflow.
For a short, one-off guide, this approach may be all you need. You control exactly what appears in each screenshot and how the finished instructions are formatted.
The tradeoff becomes more noticeable as the process grows. A 20-step workflow can mean capturing, cropping, annotating, placing, and explaining 20 separate screenshots. If you're creating guides regularly, the documentation can start taking more time than the process you're trying to document.
The faster way: Capture the process automatically
If you create step-by-step instructions regularly, you don't have to stop after every action to take a screenshot, annotate it, and add it to a document. Automatic process capture lets you document the workflow while you're performing it.
Instead of building the guide one step at a time, you start a capture and complete the process. As you move through the workflow, the tool records the actions and screens needed to recreate it.
Once you're finished, you have a structured starting point for your guide rather than a blank document. You can review the captured steps, remove anything unnecessary, add context where it's needed, and make sure the instructions accurately reflect the process.
How to create step-by-step instructions automatically with Tango
Click through your process once, and Tango builds the guide as you work. Each click becomes a step, with a screenshot and written instruction automatically captured for you.
Document without stopping your day
Start a capture from the Tango browser extension, then click through your process. By the time you finish the workflow, your step-by-step guide is ready to edit, customize, or share.
Skip the screenshot-by-screenshot work of capturing, annotating, and assembling the guide yourself.
- Capture walkthroughs anywhere across the web, or use the desktop app for offline applications.
- Edit descriptions, add context, and customize screenshots when you need to.
- Use Workflow Branching to capture multiple paths in a single guide instead of creating separate guides for different scenarios.

Deploy it where people work
Your guide doesn't have to live in another document people have to remember to find. Share it with a link, embed it where your team already works, or export it as a PDF.
Or bring the guidance directly into the workflow:
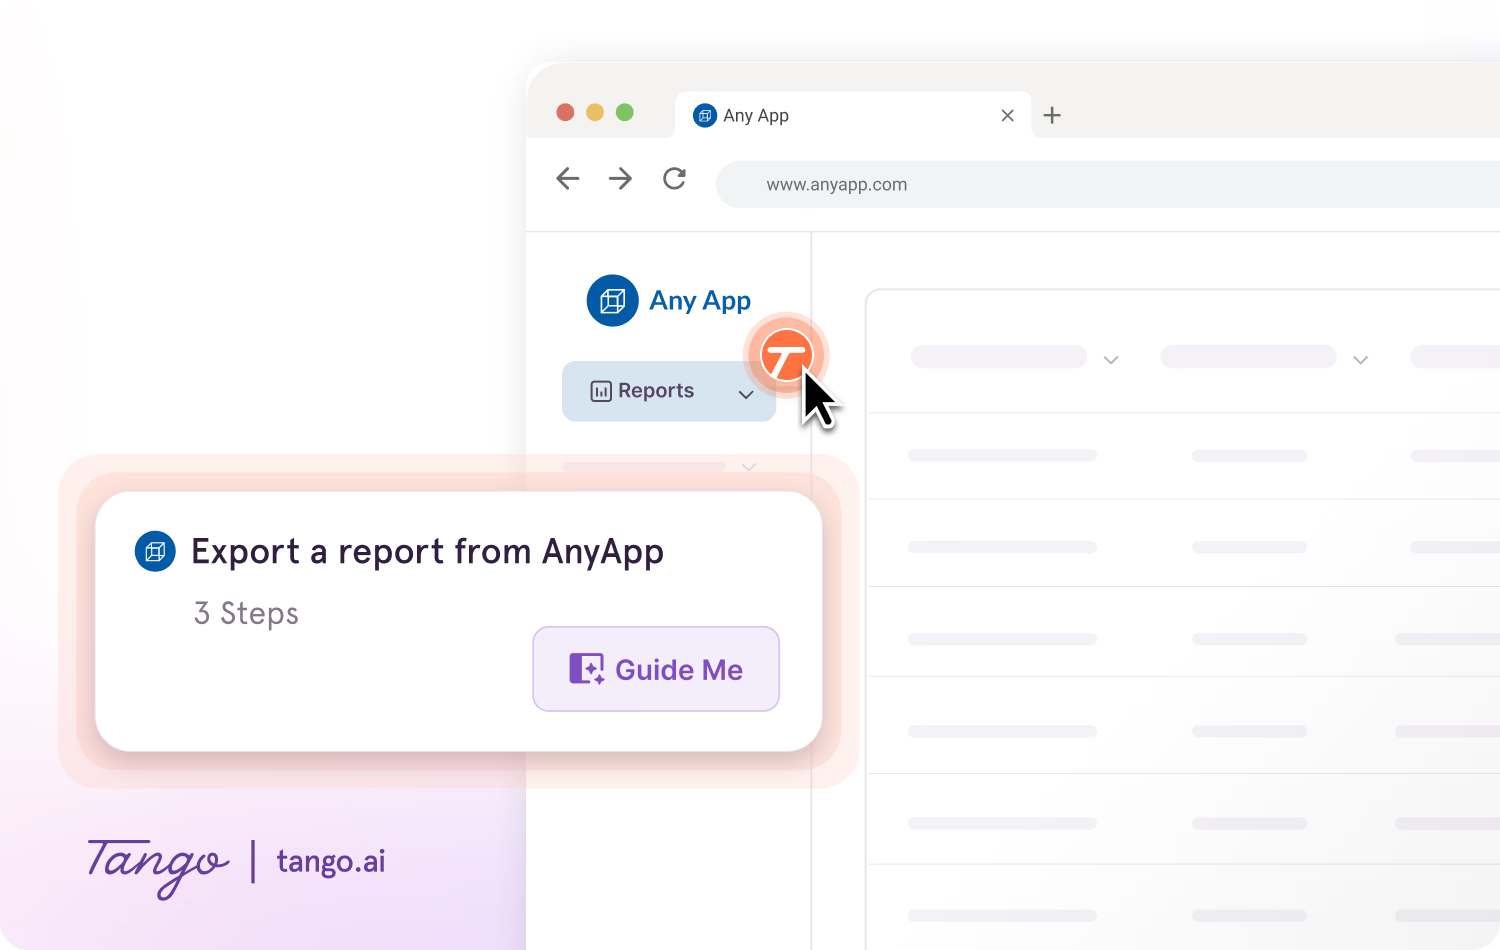
- Guide Me walks people through every click with step-by-step guidance inside the tools they're using without switching tabs.
- Pins answer questions in the moment by surfacing guides, tips, and links exactly where people need them.
Frequently asked questions
What software can create step-by-step instructions with screenshots?
Tango automatically creates step-by-step instructions with screenshots as you click through a process. Each click becomes a documented step with a screenshot and written instruction, giving you a ready-to-edit guide when you finish the workflow.
How do I create step-by-step instructions with conditional steps?
Tango's Workflow Branching lets you add multiple paths to a single guide. Add a decision point where the process can vary, and the person following the guide can choose the option that matches their situation and continue down the relevant path.




Next time someone asks, “how do I…?” Send a Tango.
Start capturing your first workflow today.